I was in need of a new backpack that can carry a laptop, and so I bought this Ponhog laptop backpack (sponsored link) a few weeks ago. Here’s my review of it, but firstly a bit of background.
I’m a hybrid worker, and when I go into the office I tend to commute by train. In the near future, I’m likely to need to transport my work laptop around more often than I do now. At present, I have a lightweight backpack designed for hiking and cycling, which can hold my iPad, my lunch bag, and not a lot else, so I have a separate laptop bag.
I’d rather not have two bags – I don’t want to be that guy who has to grovel to our IT department because I left the laptop on the train. So, I needed a backpack which could also safely transport a laptop, and this Ponhog laptop backpack seemed to fit the bill.
Overlooking the name ‘ponhog’
Firstly, I’d like to address the elephant, or rather, ‘hog’ in the room: frankly, I think ‘ponhog’ is a terrible name for a luggage brand. Whilst the word ‘ponhog’ itself isn’t in Urban Dictionary (a baseline test for any brand – looking at you, Nonce Finance), ‘pon’ just means ‘on’ and ‘hog’ means ‘pig’.
I don’t have any better suggestions myself, but I’m sure there are many potential brand names that are better than ‘Ponhog’.
The outside of the backpack
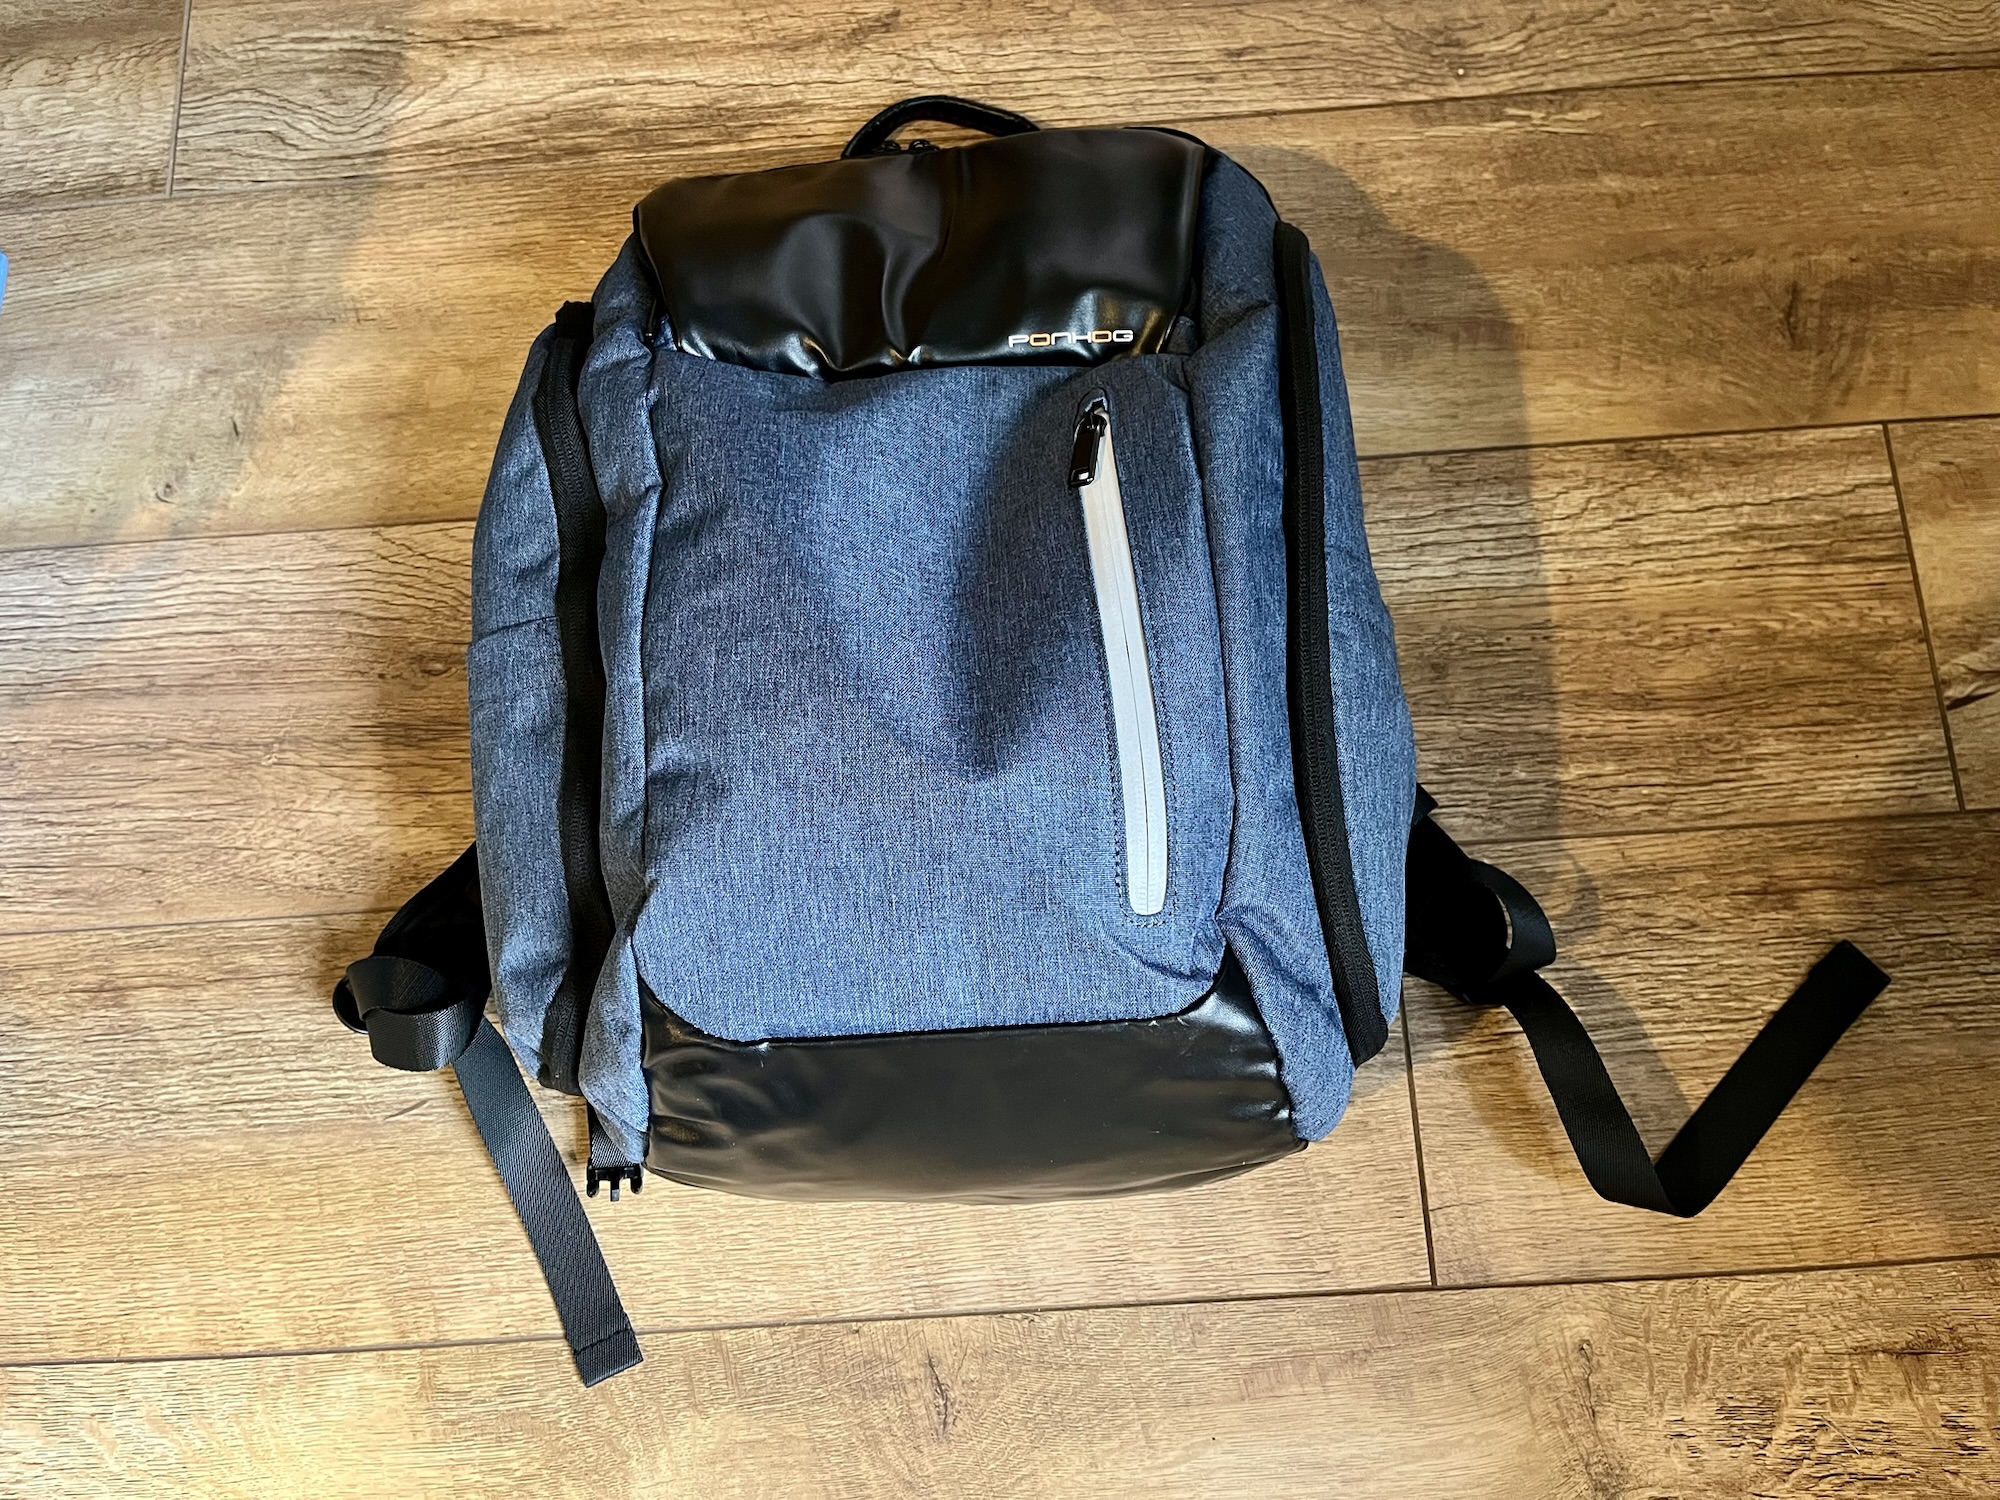
There are a number of different styles and colours available. I went with blue, which I mainly chose because I liked the colour, but it also appears to be cheaper than some of the others. The fabric feels like a plastic-y denim, which gives it some water resistance. It certainly hasn’t let in any of the rain that we’ve had in recent weeks whilst I’ve been using it, so that’s good.
There are five zipped compartments accessible from outside. There’s the big main one (more on this later), a smaller one which is behind some black shiny fabric, a small flat one on the front with reflective material, and two tall side compartments. I particularly like the side compartments, as I can pop a water bottle in one, and a reusable coffee cup in the other, and they can be completely enclosed inside. There are also two thin side pockets that don’t zip up, one on each side.
Inside the backpack
It’s possible to open the backpack so both the top and bottom of the main compartment are completely flat. Apparently this is so that you can have it open for inspection at airport security. There are Velcro flaps on each side that you can close if you don’t want to open it fully.
The main compartment is pretty big – it claims to have a 30 litre capacity. At the back are two padded pockets – a larger one for a laptop, and a smaller one for a tablet. A Velcro strap helps to anchor the devices in these pockets in place, although it doesn’t fit snugly around the device like some dedicated laptop bags do. As such, it’ll protect your devices somewhat, but not as much as one with a tighter strap. Also, whilst I could fit my iPad Air into the tablet pocket, I could only do so without a case on. But there’s plenty of room in the laptop pocket for a really chunky laptop and a larger tablet.
The front compartment with the black shiny fabric has four little sub-pockets. I like these – it means that I can sort the various gubbins I carry around with me into each pocket. This includes spare headphones, charger cable and plug, hearing aid batteries, a pen, some hand cream and a power bank. It makes finding things a lot easier, and it’s handy that it’s separate from the main compartment.
What it’s like to wear the backpack
All this would be for nothing if this backpack wasn’t comfortable to wear, so thankfully it is relatively pleasant to have on your back. Overall, it is heavier than my old backpack, which was made of much lighter material, but it also seems more waterproof. The back panel is made of a breathable mesh, and as well as the shoulder straps, there’s a cross brace so that you can transfer some of the weight to your ribcage.
The dimensions mean that it is (just) small enough to be classed as a ‘small under seat bag’ on airlines such as Jet2 and Ryanair, so you could have this in addition to your hand luggage that goes in the overhead locker. Indeed, there’s a strap on the bag that allows you to hook it on top of a rolling case, which is handy. I actually wish I’d taken this to Athens rather than a small tote bag, as it would have made packing to go home much easier.
Whilst I’m primarily using this bag for daily commuting, I can see it being very useful for international travel, should I need to fly somewhere again. I’ve had it for about six weeks as I write this, and have taken it to and from work a few times. Overall, I’m pretty happy with it; it’s the first time that I’ve bought a backpack online rather than in a shop where I can try it on first. So, I’m pleased that it’s been a worthwhile purchase.