Important note: As of the June 2025 release of Home Assistant, the 'Supervised' installation method has been deprecated, and will be unsupported by the end of 2025. I'm keeping this guide online for those interested, but please consider installing Home Assistant Operating System or Container instead, which are the two methods that will be supported in future.
There are several ways to install Home Assistant. The easiest way (besides buying a dedicated device such as Home Assistant Yellow or Green with it pre-installed) is to use what is known as ‘Home Assistant Operating System’. This bundles Home Assistant with a system manager called Supervisor and an underlying Linux distro.
There are other methods, and I’ll probably write another blog post comparing them all later. Probably the most difficult is Home Assistant Supervised, which includes the Supervisor from Home Assistant OS (HAOS), but with a self-administered Linux operating system. I’ve got over 10 years of experience working with Debian Linux, as this blog runs on it, but it took some trial and error on my part to get working.
By setting up Linux yourself first, you gain more control over your system than is offered by HAOS. For example, whilst you can enable shell access on HAOS, it’s a limited user account with no root access. And, bizarrely, HAOS doesn’t support USB mass storage devices. So even though you can install Plex from within HAOS, if your media is on an external hard disk, you can’t grant Plex access to it.
At the weekend, I set up my Raspberry Pi 4 with Home Assistant Supervised. Here’s how I went about it.
Note: This guide was current in January 2024. The instructions below may not necessarily work on future releases of Debian and Home Assistant.
Step 1: Installing Debian 12 (Bookworm)
I strongly advise you to start with a fresh Linux installation; trying to bolt this onto an existing Linux image may break other things. Home Assistant is designed to run on Debian 12 – and not Raspberry Pi OS, although I’ve seen some forum posts from users who are using this. For this guide, I’m using Debian 12.
For the most part, you can simply follow the instructions on this guide to flash an SD card and complete the initial setup. The newer versions of the Raspberry Pi imager may ask if you want to configure Wifi and SSH access for your image; don’t bother, as this won’t work on Debian. The other thing to bare in mind with this guide is the Wifi settings, where you un-comment several lines in a configuration file if you’re not using an Ethernet connection. This is fine at this stage, but you’ll need to re-comment those lines later.
The other thing that I did in addition to this guide was type in dpkg-reconfigure tzdata and set my timezone to Europe/London rather than UTC.
You can stop following the guide at the point at which it tells you to install a graphical user interface, as this isn’t needed for Home Assistant. Of course, if you’re planning to use this device for other things and a graphical UI would help you, then follow the whole guide by all means.
Step 2: Install the necessary additional packages for Home Assistant
Here, we start following this official guide from HA. You’ll need to install various additional packages to enable the Home Assistant Supervisor to run.
Once installed, I found that I had to edit the /etc/NetworkManager/NetworkManager.conf file and change managed=false to true. This was also the point where I needed to re-comment the wifi settings. Without doing this, my Raspberry Pi wasn’t able to connect to the internet for the next step.
Step 3: Install Docker
As per the official instructions, run curl -fsSL get.docker.com | sh to install Docker. This took quite a while, so maybe go and grab some lunch.
If you’re getting an error about being unable to resolve get.docker.com, then go back to step 2.
At this point, I found it easier to continue the installation remotely over SSH, rather using the keyboard and a screen.
Step 4: Install the OS Agent
Next, you’ll need to install the latest version of the OS Agent. For a Raspberry Pi 3 or later, you’ll need the aarch64 version. I downloaded the ‘os-agent_1.6.0_linux_aarch64.deb‘ file and then uploaded this using WinSCP, but you could also download it using curl or wget. You’ll then need to run the command dpkg -i os-agent_1.6.0_linux_aarch64.deb as root.
The next command to run is gdbus introspect --system --dest io.hass.os --object-path /io/hass/os . This should give some multi-coloured code and not an error; if you get an error about the ‘gdbus’ command not being found, then you may have missed the libglib2.0-bin package in step 2.
Step 5: Install Home Assistant Supervised
Finally, we’re at the stage where we can actually install Home Assistant. Here’s the command to run:
wget -O homeassistant-supervised.deb https://github.com/home-assistant/supervised-installer/releases/latest/download/homeassistant-supervised.deb apt install ./homeassistant-supervised.deb
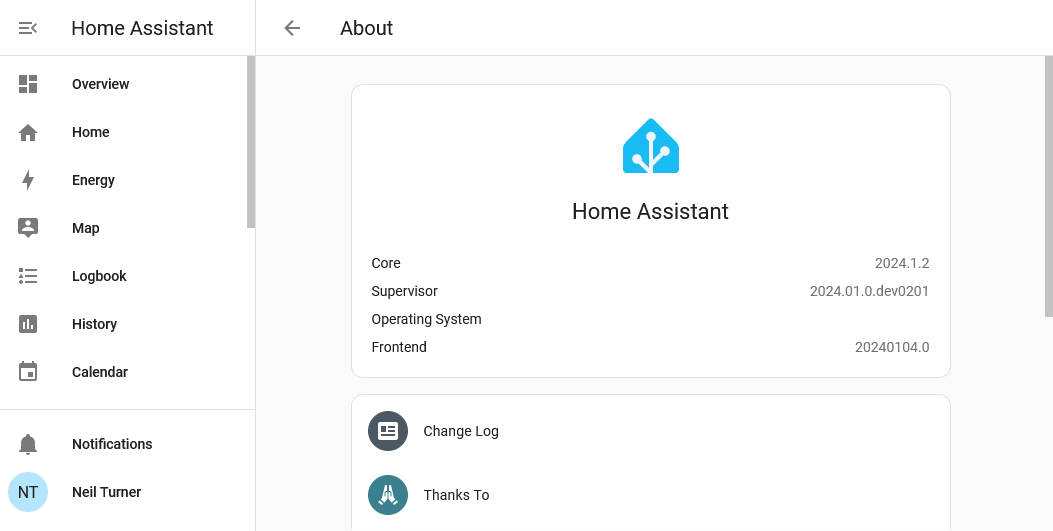
Once this is complete, wait a few minutes and go to http://[your IP]:8123/ and you should be greeted with the Home Assistant web UI. It may take a minute or to before you can start the onboarding process. If you’re migrating to Home Assistant Supervised, then you can also restore a backup at this stage, but be aware that such a backup can take a long time to restore.
And then you’re done. You may get some warning messages about the system being ‘unhealthy’ but these seem to disappear after a reboot, in my experience.
Things to consider
Although installing Home Assistant this way does allow it to co-exist with other software, bare the following in mind:
- Even if you mount a USB hard disk/flash drive to your device, Home Assistant doesn’t seem to want to know about it, or let you attach it to any addons.
- Although you need to install Docker for Supervisor to work, you’ll get errors in your Home Assistant settings if you install any other Docker images that are not managed as Home Assistant Addons. So, if you want to install any other software, do it manually, or in another container system like Snap. Or you could try Kubernetes I suppose, if you really hate yourself.
Installing Home Assistant Supervised is by far the most difficult method, but for me, it offers the best balance of overall control, and ease of use once set up. If you can find the time to set it up, then once it’s up and running, it’s easier to add new devices and configure on an ongoing basis. Whereas setting up HTTPS and HomeKit can be a challenge on Home Assistant Container, enabling these on Supervised is much more straightforward.
That being said, if you can dedicate a device to running Home Assistant on its own, then I would definitely recommend just running Home Assistant Operating System.