When we signed up for Zen internet last month, we also signed up for Zen EveryRoom. This is an additional monthly charge to cover the cost of a Wi-Fi repeater device, and, as our new router is a Fritz!Box, we were sent a Fritz! Repeater 3000 AX.
Our house is actually two smaller properties that were knocked through years ago. That means it’s a long, narrow house, and whilst we have our optical network terminal and router in a relatively central position, the Wi-Fi signal doesn’t reach the whole house from the router. Initially we used a little Netgear Wi-Fi Range Extender, and then a few years ago I replaced this with a Google Nest Wi-Fi 5 mesh system. Mesh Wi-Fi works better, as all devices use the same network name (SSID) and so mobile devices can seamlessly move between your router and repeaters without needing to re-connect. It’s how most corporate Wi-Fi systems work, but consumer mesh devices aren’t as common.
Design
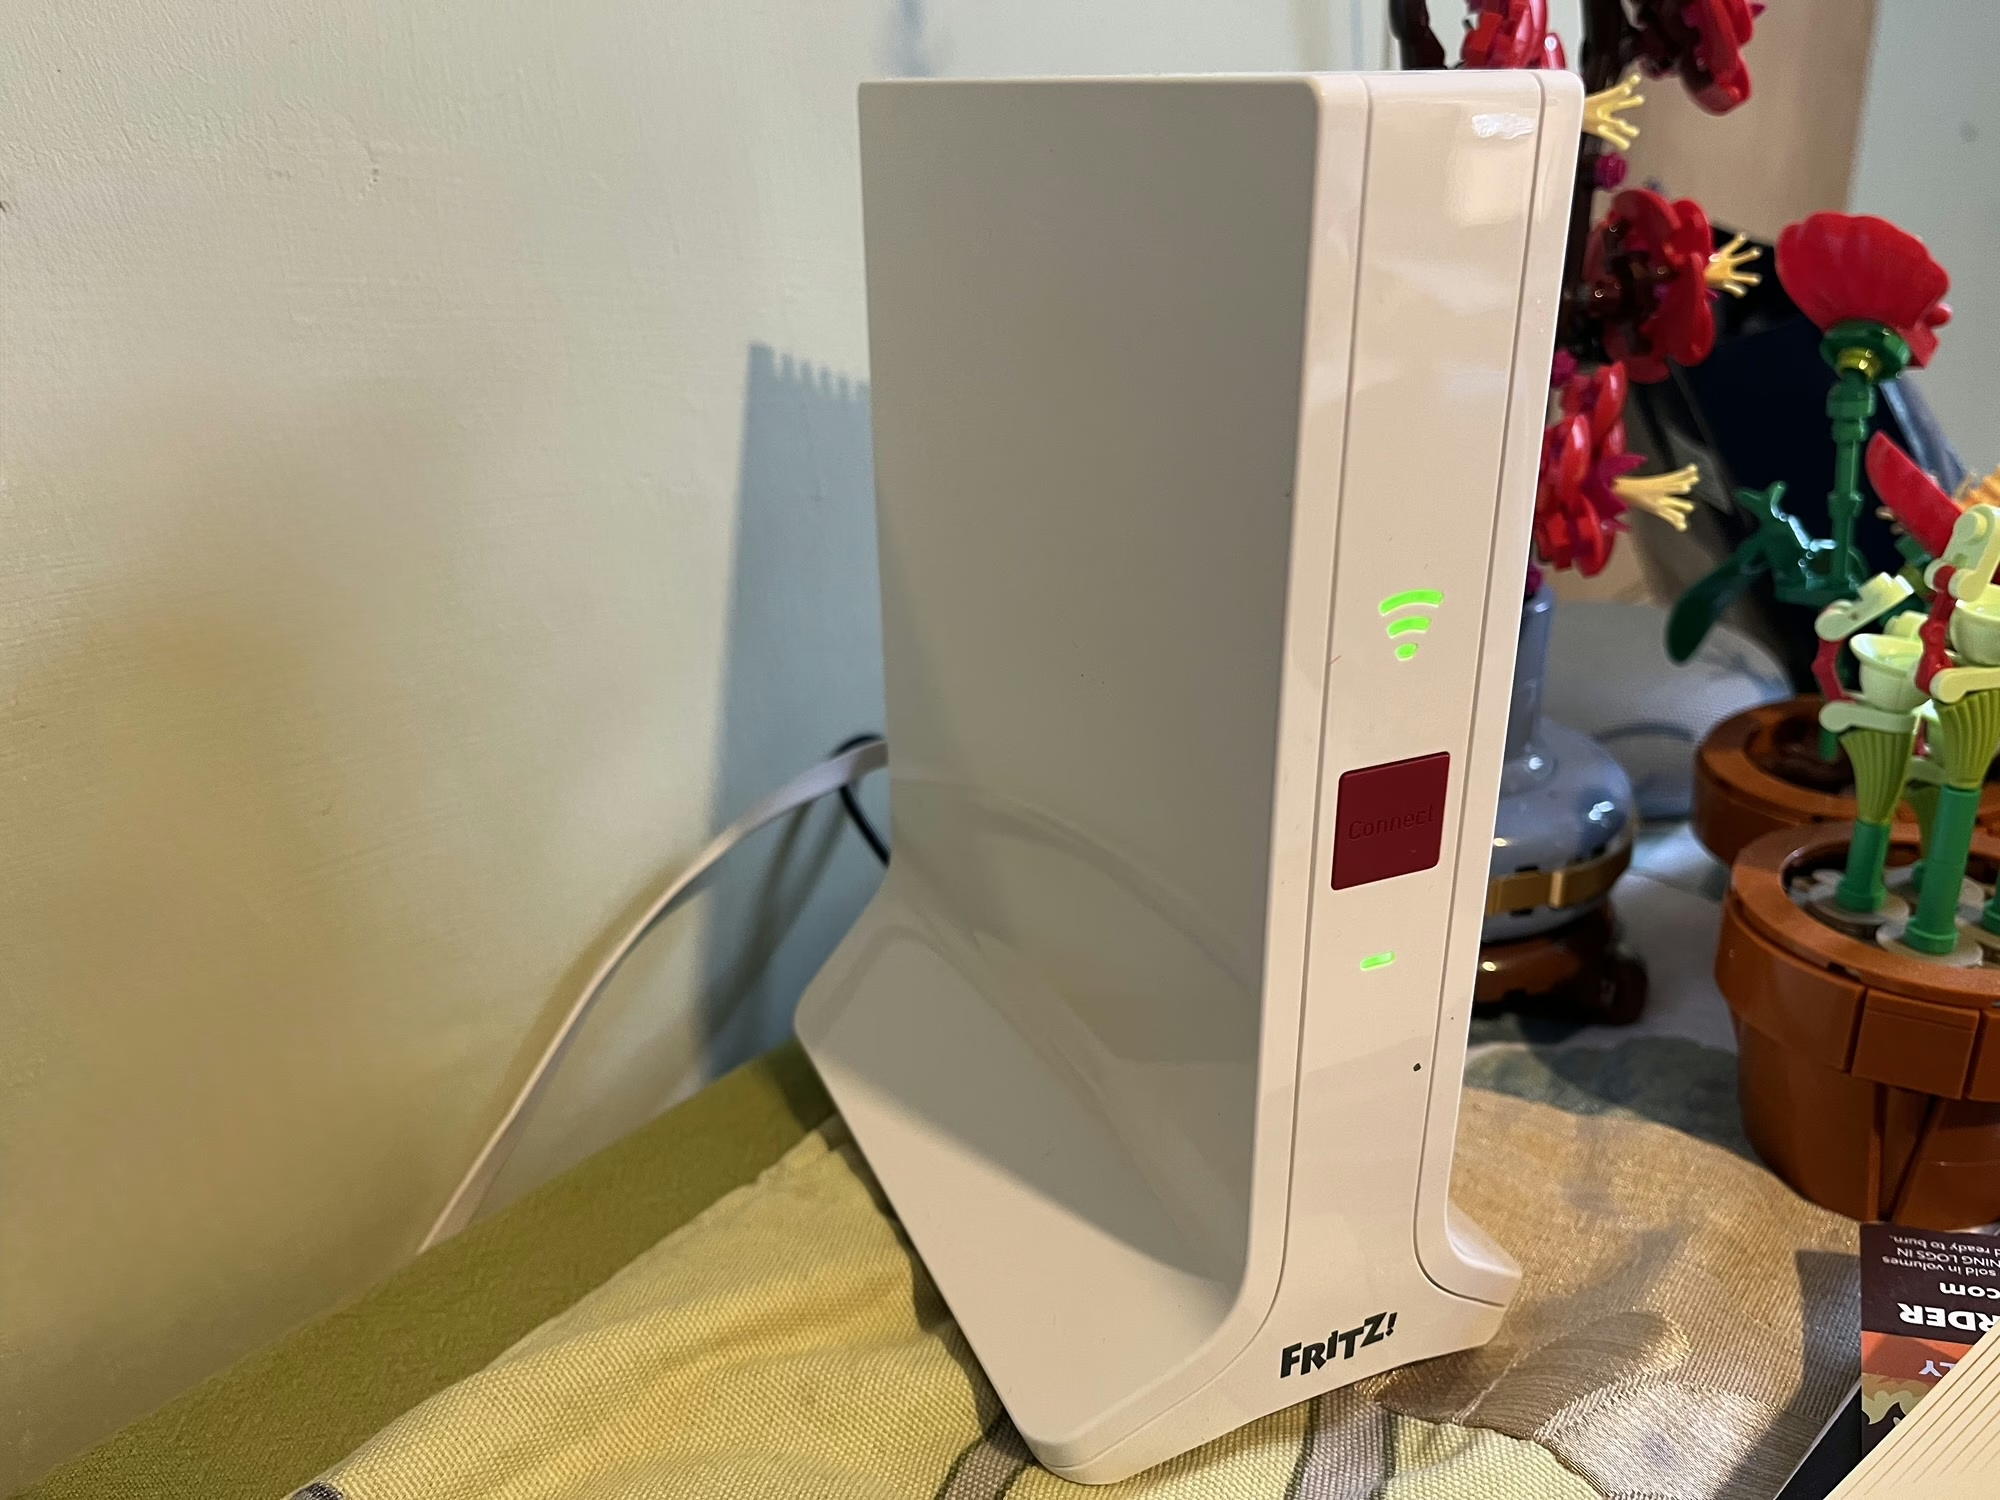
Like the Fritz!Box router, I’m not a massive fan of the design of the Fritz! Repeater either. Whilst it looks better, it still feels a bit like a cheap plastic box. Furthermore, unlike the router which is in our spare bedroom, this is in quite a prominent place in our dining room.
On the front, there’s a Wi-Fi Protected Setup (WPS) button, a power light, and a light to show that it’s connected to Wi-Fi. On the back, as well as the connector for the DC adaptor (a non-standard barrel plug), there are also two gigabit Ethernet sockets. I’ll come on to those later.
Setting up the Fritz! Repeater is as simple as plugging it in, and using WPS to establish the connection with your router.
Operating modes
The Fritz! Repeater can operate in different ways, depending on what other hardware you have:
- It can work as a simple Wi-Fi repeater with any other brand of router, or an older Fritz!Box.
- With a new Fritz!Box like ours, it can form a Wi-Fi Mesh.
- You can also use connect it to either a Fritz!Box or other router using an Ethernet cable as a LAN bridge
We’re currently using it in the third way, with our Powerline network acting as a back-haul. Therefore, there’s an Ethernet cable running from the Fritz! Repeater, via our Powerline adaptors, to the Fritz!Box upstairs. I figured this would be more reliable and stable, but it turns out that it’s actually slower. When doing speed tests, I get around 60-70 Mbps using Powerline, but the full 100 Mbps when using Wi-Fi to reach the internet. It’s odd because the Powerline connectors reckon they’re working at 400-500 Mbps. I’ll need to try running the Fritz! Repeater just on Mesh Wi-Fi to see if it’s faster, but it’ll need reconfiguring to do so; simply unplugging the Ethernet cable isn’t enough to get it to switch operating modes.
Range and performance
The range seems pretty good – there’s a reasonably strong signal even in our cellar. Certainly, between the Fritz!Box Router and the Fritz! Repeater, there are no dead zones inside the house.
Both Fritz! devices support Wi-Fi 6, aka 802.11ax, hence the ‘AX’ in their names. This should offer better speeds for those devices that support it. Neither supports Wi-Fi 6E, which offers enhanced speeds using the 6 GHz frequency band.
Compared with our previous Google Nest Wifi mesh system, the coverage seems better. Previously, we were also able to use the Google Nest Wifi Point in our dining room as a Google Assistant smart speaker, and the Fritz! Repeater unsurprisingly doesn’t support this. That’s not a major issue as we had a spare Google Nest Mini to use alongside it.
What is notable is that the Wi-Fi signal from the Fritz! Repeater seems to be strong than the Fritz!Box; devices in range of both seem to connect to the repeater more than the router. That could be to do with where the repeater is placed, but it looks like it could have larger internal antennae.
Mixing and matching Mesh Wi-Fi products
As we’ve moved from one Mesh Wi-Fi system to another, it’s worth noting that mesh products from one manufacturer aren’t compatible with those from another. In other words, we wouldn’t be able to keep our Google Nest Wifi Point, and have it mesh with our Fritz!Box. Whilst there is a standard, 802.11s, only a handful of manufacturers support it; most use a proprietary meshing protocol.
In any case, our previous Google Nest Wifi system used Wi-Fi 5, and this is a Wi-Fi 6 system.
If you have a very large home, then you can buy additional Fritz! Repeater devices to extend the signal even further; all the devices should mesh together.
You can buy a new Fritz! Repeater 3000 AX from Amazon for around £135 (sponsored link). We’re paying an extra £9 per month from Zen, for which there’s a 12 month contract and a £9 upfront charge for postage and packing.