OneLife ID emergency medical wristband

A photo of my OneLife ID emergency medical wristband

Seeing as how, at the time of writing, I’ve had two seizures in two months, I’ve decided that I needed an emergency medical wristband, just in case I have another seizure. After reviewing various options, I settled on one from OneLife ID, and you can see a photo of it above.

The most well-known provider of emergency medical identity accessories is MedicAlert. But with that recognition comes a cost – not only do you have to pay for the bracelet or necklace upfront, but they also want at least £3 a month to make your medical information available. OneLife ID, by contrast, doesn’t charge an ongoing membership fee.

I went for their Sports ID wristband, and specifically one that includes a QR code that quickly brings up a page with my name, photo and year of birth on it. It’s engraved metal, with a silicon strap that’s similar to most smartwatches. As well as the QR code, there’s my name, my medical conditions, my wife’s phone number, and the URL that the QR code points to. Obviously, I’ve blanked out the details in the photo above, and the QR code leads somewhere else.

Accessing emergency medical information

On the back of the engraved panel is a 4 digit PIN code, so once someone has scanned the QR code, they then need to enter the PIN to access my medical information. This provides more detail about my medical conditions, as well as what medication I take, my NHS number, details of my local GP surgery and my blood group.

Clearly, if I’m having a seizure, I’m not able to give this information verbally, and so having a wristband on will hopefully help any Good Samaritans and medical professionals access my medical information quickly. As such, I wear the wristband whenever I’m out of the house. Of course, I really hope I don’t get another seizure – not least because it’ll reset the 12 month period that I need to be seizure-free before I get my driving license back. But if I do, then hopefully it’ll give members of the public the confidence to help me.

Meanwhile, at work, I have a printed A4 poster from Epilepsy Action pinned by my desk about what to do if I have another seizure.

Setting up my OneLife ID

The OneLife ID web site is a little dated, but setting up your profile is relatively easy and can be done as soon as your wristband has been produced. You can include as much or as little information as you want – there is, of course, a balance between privacy and making sure that you receive fast and accurate care.

My only concern long-term is that the OneLife ID web site closes down, making the wristband less useful. As I’m not paying a monthly or annual fee, there’s a risk that the company could shut down in the future. Should that happen, then hopefully by then I won’t be at risk of seizures any more.

There are other alternatives, and Epilepsy Action has a list of several companies selling emergency medical ID products. OneLife ID seemed the best fit for me, but it’s worth looking at the others as well.

Changing Places Toilet Awareness Day

The logo for Changing Places Awareness Day on the 19th July

Today is Changing Places Toilet Awareness Day – an annual event to raise awareness of Changing Places Toilets which offer enhanced facilities for people with profound disabilities.

Those of you who read my days out posts will note that I usually include the availability of a Changing Places toilet in the accessibility section. Whilst I have had issues with my arms in recent months, I’ve been fortunate that I don’t need the extra support that a Changing Places toilet offers. However, I have friends and colleagues for whom such toilets are vitally important.

What makes a Changing Places toilet?

Changing Places toilets are a step up from what I suppose you could call a ‘standard’ disabled toilet. They’re usually larger, to accommodate a wheelchair and two carers, and include an adult-sized changing table and a hoist. They allow adults who are unable to get themselves out of a wheelchair themselves to use a toilet, and allow carers to change incontinence pads on a clean, flat surface.

It’s estimated that 250,000 people in the UK would benefit from the enhanced facilities that a Changing Places toilet offers. Without them, it’s very difficult for these people to attend school, college or university, work, or just have a nice day out.

How many Changing Places toilets are there?

The number of Changing Places toilets has grown quite quickly in recent years, and there are now over 2500 registered on this map. Where I live in Sowerby Bridge, there are two, with a further two in Halifax. There are four in Bradford city centre, and my workplace has one. Most big shopping centres now have them, as do many larger museums.

Registration is voluntary, and so there may be places that have such facilities that are not on the national map. It’s also worth noting that the map includes some toilets which don’t meet current standards – they may not offer the full range of enhanced facilities, but still offer more than a standard disabled toilet. You can follow the links to each venue’s page to find out exactly what’s available at each toilet, and there are usually photos as well.

Changing Places toilets are an important part of enabling disabled people to live their lives outside their homes, and be able to go to the toilet with the same dignity as able-bodied people. They allow disabled people to be more included and achieve equal access to opportunities. I think they’re really important, and whilst not every single public space needs to have one, having them available will make life so much easier for disabled people. I’m therefore happy to champion those places that provide them.

The four stages of getting better

I’m still getting on with my recovery, and I’m slowly regaining the ability to do tasks that I couldn’t do immediately after my fall. I’ve found that I go through four stages with tasks:

  1. I can’t do it myself
  2. I can’t quite do it myself
  3. I can just about do it myself
  4. I can do it myself confidently

I’m now eight and a half weeks post-fall, and most tasks are at stage 3 and 4 now. The things I can’t do myself involve stretching my arms up – namely, hanging washing outside. Indoors, I can use stepladders to help me reach things, but it’s more difficult outdoors.

There aren’t many things left in stage 2 – things I can’t quite do myself – but dressing myself was something I couldn’t do entirely myself until recently. My main issue was getting my head through t-shirts, and for this I needed assistance.

Stage 3 is when I can do something, but in a rather ungraceful way or with the help of additional tools. To take the example of dressing myself, I found that laying a t-shirt out on a bed, and then pushing my head through it like a cat going through a cat flap, seemed to work. Not graceful, but it gets the job done. Another example would be drying my back; I would lay the towel over the sink so that I could grab it with both arms.

It’s this third stage that has given me some insight into what it would be like to have a permanent mobility issue. I’m hopeful that I’ll make a full recovery, and regain all of my mobility (although it’s not guaranteed). But I appreciate for some, their limited mobility is the best that they can manage, and that’s where mobility aids and various life hacks come into play.

Back in hospital

I’m writing this from my hospital bed, having been re-admitted on Sunday. I had a seizure at home, and this time Christine and our ten-year-old were there to witness it.

Last month I had a fall at home, which I put down to feeling faint but a seizure hadn’t been ruled out. Now it seems like a seizure was the most likely explanation. This time, I was lying down, so no broken bones, but my first memory after coming around was when the paramedics had arrived. This resulted in my first ever trip in the back of an ambulance.

During this hospital stay, I’ve had another CT scan, and an MRI scan as well. I may have some kind of infection which hasn’t been cleared by the medication I was given last time, but we’ll see. I’m also now taking anti-seizure medication, and I cannot drive a car for at least another six months.

I’m hoping to be discharged today.

The injury explanation post

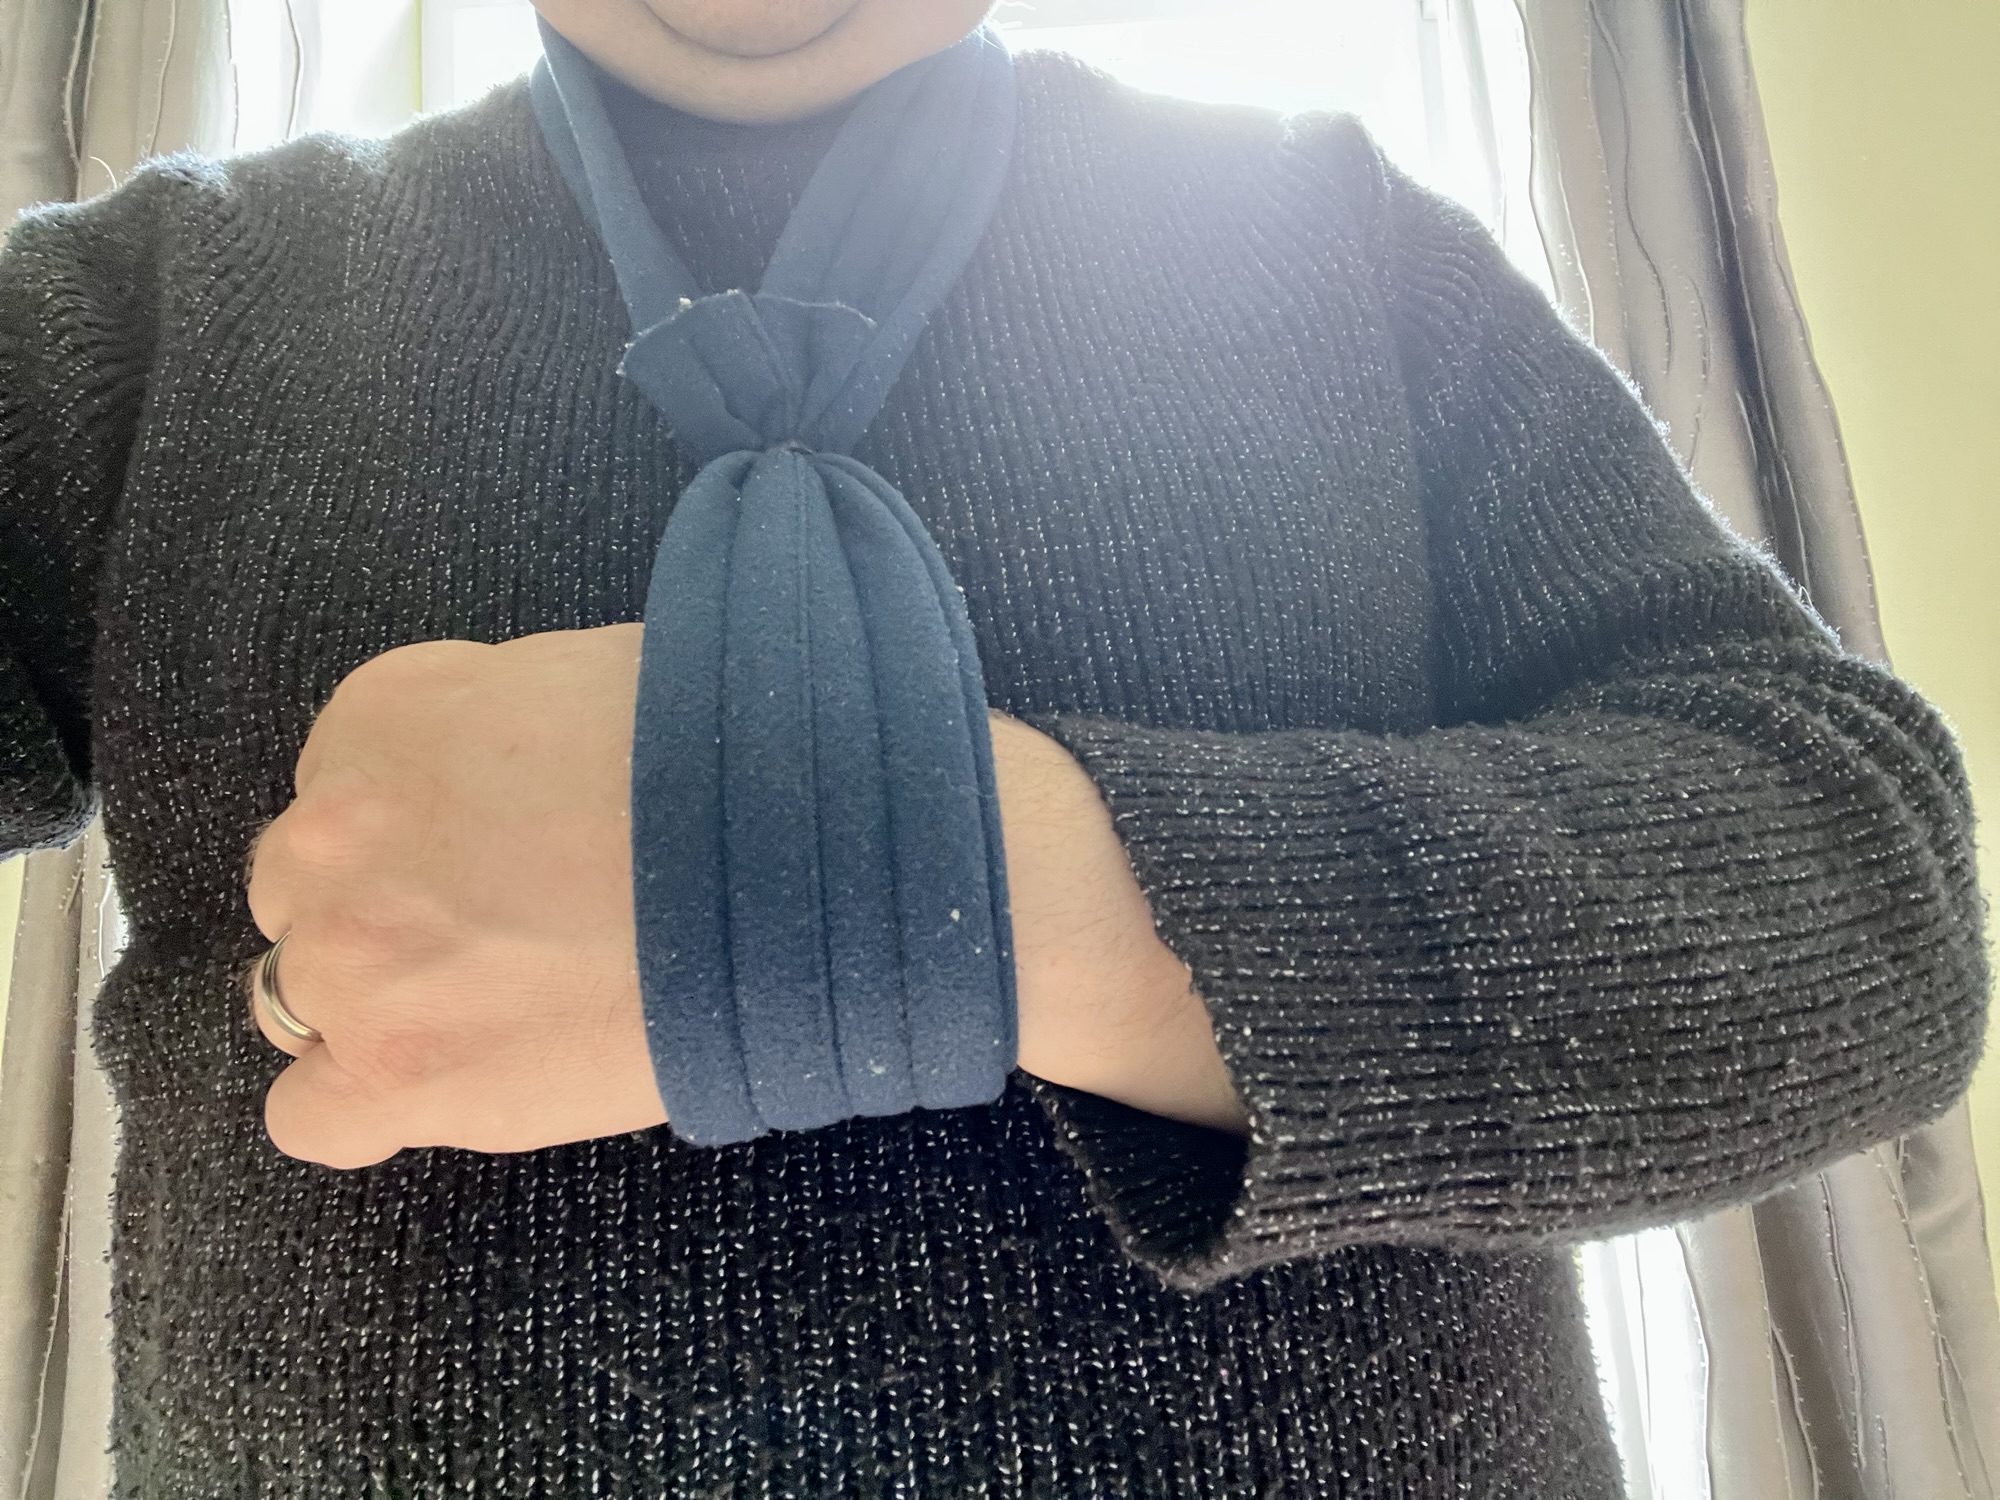
A photo of me wearing a sling

As it’s been almost five weeks since my fall, it’s probably about time that I explained what happened, and how I’m recovering.

How did I fall

I actually don’t remember the fall, or getting up from the fall. What I do know was that I had felt faint a couple of times earlier in the day, and had lunch much later than I would do normally. I was at home on my own, so there was no-one else there to see what happened, and no CCTV footage, so we don’t know for sure what happened. It’s likely that I fainted, which would explain why I didn’t stop the fall by putting my arms out. I also had a bruise on my nose, and I was treated for an infection in hospital, which may have been a contributory factor to me fainting.

What we can’t yet rule out is that it was a seizure instead of fainting. That’s more of a problem; if I’ve had one seizure then it’s possible that I may have others in future. As such, even once my arms are better, I can’t start driving again until I’ve been signed off by neurology, as having a seizure whilst driving would be dangerous. I have a phone call with them next month, but it may be some months before I’m seen in person.

What did I break

The specific injury I’ve sustained is a stable bilateral humeral fracture. Let’s, ahem, break that down (pun not intended):

  • Stable – though the bones are broken, they’ve not moved out of place. This is the ‘good’ kind of fracture to have, as it’s meant that I haven’t needed an operation to pin the bones back together, or a cast.
  • Bilateral – I fractured the same bone on both sides of my body.
  • Humeral – the fractures are in my humeri – better known as the funny bone. It’s the bone that makes up the top part of your arm and connects your shoulder to your elbow. Both breaks are at the top, by my shoulders.

For someone like me, who is relatively fit and healthy and in my forties, to sustain such an injury is unusual. As such, I’ve had a number of blood tests to check calcium levels, and I’m due to have more to check my liver and kidney functions.

The good news is that the fractures are healing well – I had follow-up X-rays last week which show significant improvement. However, I still have pain in my rotator cuffs, which are the muscles surrounding my funny bones at the top, and limited mobility in my arms.

I didn’t study Biology past GCSE, and so I have learned quite a bit about my anatomy in recent weeks.

Treatment

I spent six nights in hospital, which included treatment for the infection, investigations, and fitting with slings. Until last week, I had both arms in slings, but I have stopped wearing the one on my right arm now. I should be able to stop wearing the left sling next week. The fracture on my left arm was slightly more severe, but I’m also right-handed.

I’ve then had three and a half weeks of recovery at home. Yesterday, I started a phased return to work – 25% hours initially, and only working at home. By next month, provided I make good progress, I should be back up to full-time hours and also be able to go back into the office in person.

I’m receiving fortnightly physiotherapy sessions to work on regaining mobility in my arms. As it stands, I can mostly dress myself, but can’t put on t-shirts or jumpers without assistance. I also need assistance with washing myself on a morning, and I’m still not allowed to lift anything for at least another week. I’m still taking painkillers, although I only need prescription-strength medication (Codeine) at night now. The pain comes and goes, and depends on how active I have been.

A month on, and I still have a way to go before I’m mostly recovered. But I’m getting there.

New Bluetooth hearing aids

A photo of one of my new hearing aids

Back in autumn 2022, following a decline in my hearing, I started wearing hearing aids. Almost four years on, and following a new hearing test, I’ve got new, upgraded hearing aids – and these ones have Bluetooth.

Bluetooth hearing aids have been around for some time now, but were normally only available if you paid to have them fitted privately. And privately paid-for hearing aids are not cheap – Specsavers charge a minimum of £500 for a pair, and up to £3000 for top-of-the-range models. So I’ve gone with standard issue NHS hearing aids, which don’t cost me anything as long as I don’t lose them.

It’s only been recently that hearing aid manufacturers have started offering Bluetooth functionality in the cheapest models that they sell to the NHS. It offers some advantages to them – my old hearing aids had metal contacts on the bottom so that my hearing profile could be uploaded to them, but now this can be done wirelessly by Bluetooth. That, in turn, allows for a more streamlined casing for the hearing aids.

Phone connectivity

For me, the major advantage of Bluetooth is that I can connect my hearing aids to my phone. They support Apple’s Made for iPhone (MFi) standard, and so they work a bit like Bluetooth earbuds. Once paired, then you can route your phone’s audio to your hearing aids. However, unlike most Bluetooth audio devices, you can opt to not route system sounds and ringtones to your hearing aids, which is good. You also get to see the battery status of your hearing aids if you have the battery widget enabled on your home screen, and can use your phone to control the volume.

Another feature on iPhones is Live Listen. This allows you to use your phone’s microphone to route sound to your hearing aids. It’s useful for noisy environments, where people can talk into your phone’s microphone to help you hearing them better. Whilst you can buy microphones that also do this, it’s handy to be able to use a phone that you already own.

Other Apple devices linked to the same Apple account should be able to interact with your hearing aids when in Bluetooth range, even if not paired. I say should because my iPad says it can see my hearing aids, but I haven’t yet worked out how to route audio from my iPad to my hearing aids via my iPhone. I assume that if I buy a Mac in future, this will also work.

I’m sure Android phones also support these features, but I haven’t had any experience with them.

iPhone App

My hearing aids are manufactured by Oticon, and they also offer a companion app for your phone. This also allows you to control the volume (for both hearing aids together or individually), switch modes to enable Telecoil, and also mute the microphones. This latter option is useful for listening to music or podcasts over Bluetooth; by default, the hearing aids still listen for sound in your environment (albeit a slightly reduced volume) when Bluetooth audio is playing. If you just want to listen to audio and not your environment (essentially using your hearing aids as headphones), then the mute function is useful.

You can also enable a ‘SpeechBooster’ mode that amplifies speech in noisy environments. Being as I am mostly stuck at home at present, I haven’t tried this yet.

Not rechargeable

Whilst most paid-for hearing aids now come in a charger box, like Apple’s AirPods, these basic ones that I have still use disposable batteries. I don’t have to pay for these either – I get a supply of free batteries from the NHS. And thankfully they’re the same type as my previous models, so I can still use the spare ones I had left over. I expected the Bluetooth support to affect battery life, but they seem to last 8-10 days, which isn’t a major difference.

I’m really happy with my new hearing aids, as they negate the need to take them out to use earbuds or headphones to listen to music and podcasts. Whilst the sound quality isn’t as good as some earbuds, they’re a lot more convenient – especially when you can mute the microphones. Most of all, I’m glad Bluetooth hearing aids are now available on the NHS and that I haven’t needed to pay for them.

Hiatus

This is a short blog post that I am tapping out on my phone. Since Thursday last week, I have been in hospital, having had a fall at home which resulted in me fracturing bones in both my shoulders (specifically necks of humerus).

I’ve now exhausted the scheduled posts that I’d written before the fall, and both arms need to be non-load baring for another five weeks or so to allow them to heal, so I’m going to have to take a blogging hiatus for now. Which is a shame; I was working on my views of this year’s Eurovision entries when the fall happened.

See you all soon, hopefully when I no longer have T-rex arms.

Shapewear: is it worth it?

Recently, my Facebook feed has been full of adverts for male shapewear – essentially vests which push your tummy in. The idea being that you can hide a beer belly and look more confident. Of course, the adverts have lots of before and after videos of men who have squeezed themselves into one of these vests.

Of course, when it came to writing this, none of the adverts showed up for me to take a screenshot.

Whilst I rarely drink beer nowadays, it’s fair to say I’m more portly than I used to be. Between the start of the Covid lockdown five years ago, and the summer of 2021 when things started re-opening again, my waist size increased by a couple of inches. It used to be that I did around 30 minutes of brisk walking every weekday, but despite my efforts to get out during lockdown, I don’t do as much exercise now as I used to.

Therefore, on the face of it, shapewear offers an easy solution – squish your belly into a tight-fitting vest to look better. But besides the price of these vests, I’ve been hesitant to try them, for a couple of reasons.

Shapewear health risks

A quick search with a well-known search engine brought up this article from BBC Science Focus about the ‘hidden health risks of shapewear’. Feel free to read it, but the summary is that shapewear may not be suitable for people who experience issues with breathing, digestion, skin irritation or who have nerve or circulatory issues. And I tick two of those boxes: I’m asthmatic, and, without wanting to go into TMI, I have some digestive issues. Wearing shapewear regularly could exacerbate both of those.

Health risks aside, forcing your body to look a certain way, or only feeling confident if you’re wearing shapewear, isn’t a healthy relationship with your body. I’m reading (well, listening to the audiobook of) You Are Not A Before Picture by Alex Light (sponsored link), which is a really good book about the history of the diet industry, and how to have a good relationship with your body regardless of its size. It also dispels the myth that fat = unhealthy and thin = healthy. For more, see HAES – Health At Every Size, which offers advice for healthcare professionals who work with differently-sized people in a way that is affirming and supportive.

So, no – as much as I’m not a big fan of my sticky-out-tummy, I won’t be trying to force it into a restrictive vest.

100 days of Fitbit

Yesterday, I completed 100 consecutive days where I recorded at least 10,000 steps on my Fitbit. That means that I had done a minimum of 10,000 steps every day since mid-July.

My previous record had been 57 days, earlier this year. That was forcibly ended when the Fitbit Charge HR that I had at the time stopped working. Before that, I’d managed 32 days last year. Getting to a triple digit number has been a much bigger achievement.

10,000 steps is the default target, and, whilst I can achieve this with ease on weekdays, weekends are another matter. Sunday was a good example – knowing that I wouldn’t have many opportunities to get my steps in, I took advantage of the clocks going back and went out for an early morning walk whilst the rest of the household slept in. This is why I haven’t changed my target to be more challenging; I’d rather it be obtainable with some effort than feel bad about not meeting it.

I’m going to try to keep this steak going if I can, although next week may present some difficulty. Christine and I are both off work all week – we had planned to go somewhere, but left the planning too late and can’t really afford to stay over anywhere. Not having my regular routine may make it difficult to reach 10,000 steps every day, but I’ll give it a go.

Fitbit Alta HR review

I’ve recently upgraded my fitness tracker, and now own a Fitbit Alta HR (sponsored link). I’ve previously owned a Charge, and a Charge HR, and this review will mostly focus on the differences between the Alta and the Charge. I reviewed the Fitbit Charge in October 2015.

Improvements

Compared with the Charge, the Alta HR is narrower, and the metal bands either side of the display make it feel more solid. I find that it fits my wrist better and it’s lighter, so it feels more comfortable. I feel happier wearing it when asleep than I did with the Charge models.

Battery life is much improved over the Charge HR, with the Alta HR typically lasting a full week on a full charge. You can also view the current battery status on the device itself, as it’s one of the screens that displays along with your step count, calories burnt, distance travelled etc.

Notifications are expanded beyond phone calls; the Alta HR will also notify you of text messages (and show the sender and first few words), and calendar events if you wish. If you’ve turned on Fitbit’s hourly movement tracking, then if you haven’t done 250 steps in the last hour, you’ll get a nudge at around 10 minutes to the hour to get up and move around.

In my experience, the Alta HR was better at synchronising throughout the day with my phone than the Charge models, which would sometimes go a few hours at a time without a proper synchronisation. This may be a quirk with my phone though.

Disadvantages

If you’re switching from a Charge to an Alta HR, you’ll need to turn off the floor climbing tracking. There’s no altimeter in the Alta HR and so you won’t be able to track how many floors you’ve climbed.

There’s no button on the Alta HR, so you have to wake the display either by raising your arm or double-tapping the screen. Also, the screen doesn’t automatically illuminate when you receive a notification. This probably improves the battery life but makes it a little harder to check your status quickly.

The screen is much bigger, and has a higher pixel density than the Charge. But it’s orientated lengthways, so when reading a message you’ll need to twist your arm. It also means that it’s not wide enough to display more than three digits of your step count, so once you hit 1000 steps, it’ll display ‘1.0k’ and then ’10k’ once you hit 10,000 steps. However, below this, a series of five dots shows whether you’re at 20, 40, 60, 80 or 100% of your daily goal.

Finally, your existing Charge or Charge HR charging cable won’t work with the Alta HR. It has a much improved cable that clips on to the device, but it’s incompatible with other models. You may want to order a spare cable.

Verdict

On the whole, I agree with this Gizmodo review – this is probably the best fitness tracker for most people. £10 more will get you the Charge 2, which overcomes some of the limitations of the Alta HR, but is bigger and probably less comfortable. If you’re the sort of person who wants to record their floor climbs, easily view GPS data, or practice relaxing breathing, go for the Charge 2. If not, then the Alta HR is a very good, comfortable fitness tracker.

Creative Commons License
Except where otherwise noted, the content on this site is licensed under a Creative Commons Attribution-ShareAlike 4.0 International License.