Home Assistant with HTTPS and HomeKit

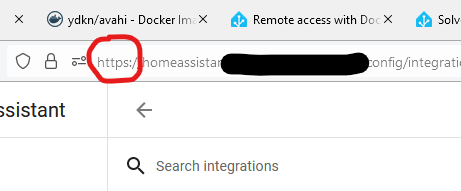
A screenshot of Home Assistant running in a web browser with HTTPS enabled and no certificate errors

Welcome to the latest chapter of getting Home Assistant working on a Raspberry Pi using Docker. Last time, I’d managed to get it working in Docker, but only over a regular HTTP connection and without HomeKit. The good news is that I’ve solved both of these problems.

Using SWAG to enable HTTPS

Firstly, I recommend reading this paragraph whilst listening to ‘Swagger Jagger’ by Cher Lloyd.

I’ve tried lots of different ways to get Home Assistant working over SSL/TLS. There’s a good reason why this is one of the key selling points of Home Assistant Cloud, as it can be difficult. Thankfully, there’s a Docker image called SWAG (Secure Web Application Gateway) that handles much of the legwork. Once you’ve installed SWAG, follow this guide, and you should find that you can access your Home Assistant setup at https://homeassistant.[yourusername].duckdns.org/ . No need to specify a port, or accept any certificate warnings.

Inside SWAG, there’s a DNS client, which will automatically renew the SSL certificates every 90 days for you, using ZeroSSL or Let’s Encrypt. There’s also nginx, which is used to set up a reverse proxy, and support for dynamic DNS services like DuckDNS.

SWAG has sample configurations for lots of different services, including calibre-web, so I have SSL access to my calibre-web image too. My only issues with it so far were last week when DuckDNS went down on Sunday morning. Most services, like Home Assistant, need to be mounted as subdomains (as above), but others (like calibre-web) can be mounted as subfolders, e.g. https://[yourusername].duckdns.org/calibre-web. This reduces the number of subdomains that you need SSL certificates for; ZeroSSL only offers 3 subdomains for a free account so it’s worth considering subfolders if you want to add more services.

If you have your own domain, then you can also add a CNAME to it to point it at your DuckDNS account, should you wish to use that rather than a [something].duckdns.org address.

Getting Apple HomeKit working
Carrying on the musical theme, here’s ‘Carry Me Home’ by Gloworm, a 90s dance classic which has only recently become available on digital platforms again.

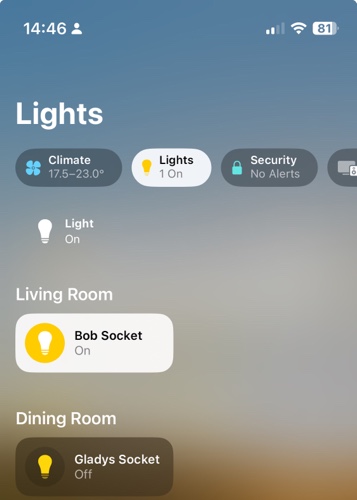
After getting my swagger jagger on and getting HTTPS working, the final issue I’ve been having with Home Assistant is the HomeKit bridge. Adding Home Assistant devices to Apple’s Home app is something that normally works out of the box if you install Home Assistant OS, but takes more work if you use Docker.

The instructions which helped me where these on the Home Assistant forums. You’re going to need to install another Docker image containing avahi; there are several but this one worked for me. It’s bang up to date, unlike the most common Docker image which is, um, 8 years out of date and also only works on x86 machines. Which isn’t much help for my arm64-based Raspberry Pi 4.

Once you’ve installed avahi, added the relevant lines to configuration.yaml in Home Assistant and restarted it, HomeKit should work. To get started, add the HomeKit integration to Home Assistant – you may want to specify which devices will show if you don’t want all of them. Then, use your iPhone or iPad to scan the QR code in your Home Assistant notification panel, and add the bridge. If all goes well, it should immediately tell you that it’s an unsigned device, but will then let you set up each device in turn.

If it just sits there for several minutes and then gives up, you’ll need to do some more digging. Don’t worry, this happened to me too. I suggest downloading the Discovery app, which shows all of the mDNS devices broadcasting on your network. If you can’t see ‘_hap._tcp’ in the list, then there’s a problem. In my case, this turned out to be because my Raspberry Pi wasn’t connected to the same wifi network. It’s plugged in to my ADSL router with a network cable, but we use Google Wifi which results in a ‘double NAT’ situation. Connecting the Raspberry Pi to both wired and wireless connections seemed to fix the issue.

Indeed, as a side effect Home Assistant managed to autodiscover some additional devices on my network, which was nice.

Home Assistant Core in Docker? Done it, mate

All in all, I’ve successfully managed to get Home Assistant to where I want it to be – self-updating in Docker, secure remote access, and a HomeKit bridge so that I can ask Siri to manage my devices. I’m looking forward to being able to turn my heating on whilst driving, for example.

It’s been a challenge, requiring a lot of skimming through the Home Assistant forums and various StackExchange discussions. Ideally, I would have a spare computer to run Home Assistant OS, which would have taken some of the leg work out of this, but I’m happy with the setup. Finding SWAG and getting it to work was a moment of joy, after all the setbacks I’d had before.

Using Portainer to manage Docker

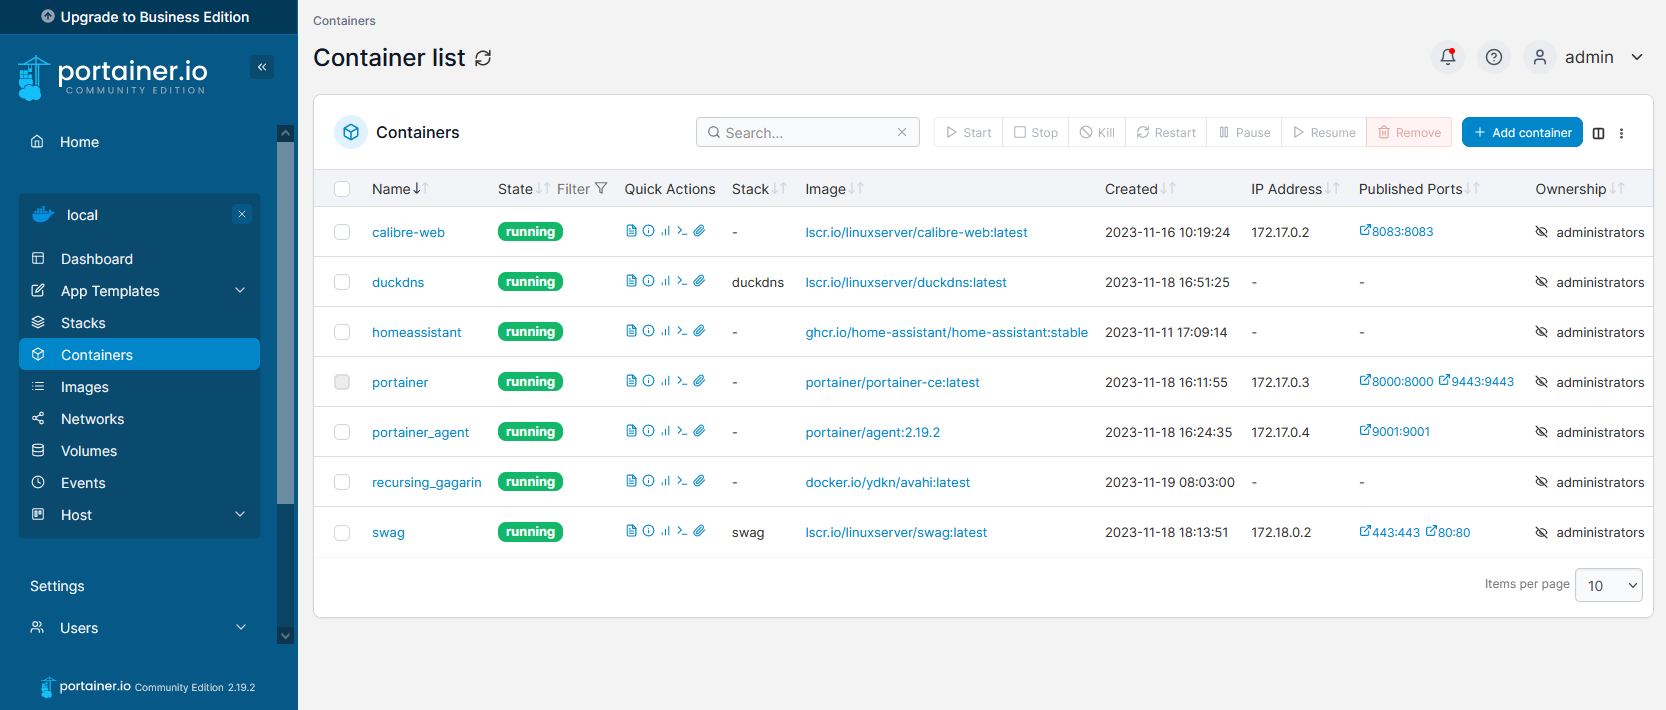
Screenshot of the Portainer web interface

So you may have noticed that I have a thing going on with Docker at present. I’ve set up Home Assistant in Docker, and more recently also set up calibre-web with Docker. Between these, and other Docker images, it’s quite a lot to manage – especially on a headless remote device. Thankfully, Portainer is a web-based solution to managing multiple Docker containers.

There’s a free community edition which offers sufficient features to manage one Docker system, which I’m using. If you need to manage multiple systems, there’s a Business Edition available that you need to pay for, but home users should get by with the Community Edition. Although you will see lots of greyed out options which are only available in the Business Edition – something anyone who uses a freemium WordPress plugin will recognise.

The installation instructions are detailed, and there are a number of steps that you’ll need to follow using the command line. Once everything’s set up, you’ll be able to open a web browser and see all of your Docker containers, and their status.

Portainer lets you start, stop and restart containers from the web interface, and delete any containers no longer needed. The feature that I’ve found most useful is the ‘Duplicate/Edit’ function, which allows you to easily duplicate a container, and optionally replace the original container with a new one with updated variables. This is great for people like me who invariably make a mistake when setting up a Docker Compose file. Logs are also made easily accessible, which helped me when troubleshooting a container that was starting but then wasn’t accessible through a web browser.

You can also run new containers in Portainer; whilst this is easier than typing out commands, Docker Compose works better for me as you can just copy and paste them.

If you’ve got a few Docker images up and running, I would recommend Portainer as an easier way of managing them. It’s much nicer than having to type out commands in a ssh session, and is a friendlier way of working with Docker for less experienced users, like myself.

Managing e-books with Calibre-web

Screenshot of the calibre-web interface

If, like me, you’ve picked up a number of e-books over the years, you may use Calibre as your e-book manager. It’s a desktop application with an optional web interface, but it has its drawbacks. The user interface is clunky, and it tries to cram lots of advanced features in – even the latest version 7 is overwhelming for new users. So, if you can forego the desktop application, there’s an alternative called calibre-web that does the same thing in a web browser, and with a much nicer interface.

Once installed, you can migrate your existing metadata.db from Calibre and the e-book folders, and calibre-web will pick up where you left off. I particularly like the ability to download metadata from sources such as Google Books, to get more complete data about each book besides its author and title. There’s a built-in e-reader, or you can use an app that supports OPDS – I used Aldiko.

By far the easiest way to install it is using Docker. There’s a good image on DockerHub; it’s maintained by a third-party but recommended by calibre-web’s developers. Once installed, it doesn’t require much additional configuration.

By default, calibre-web doesn’t allow uploads, but you can amend this in the Admin settings. The settings toggle s rather buried away, and it took me some time to find. But once uploads are enabled, it allows you to completely replace the desktop Calibre app if you want to. You can also set up multiple user accounts, if you want to share your calibre-web server with others.

I have calibre-web installed on the same Raspberry Pi as my Plex and Home Assistant servers. Indeed, calibre-web essentially offers a kind-of Plex for e-books, seeing as Plex doesn’t offer this itself. Unfortunately, most of my e-books were purchased through Amazon, and so only accessible through their Kindle apps and devices. But for the handful of books that I’ve picked up through the likes of Unbound and Humble Bundle, it’s helpful to have them in one place.

Running Home Assistant in Docker and Snap

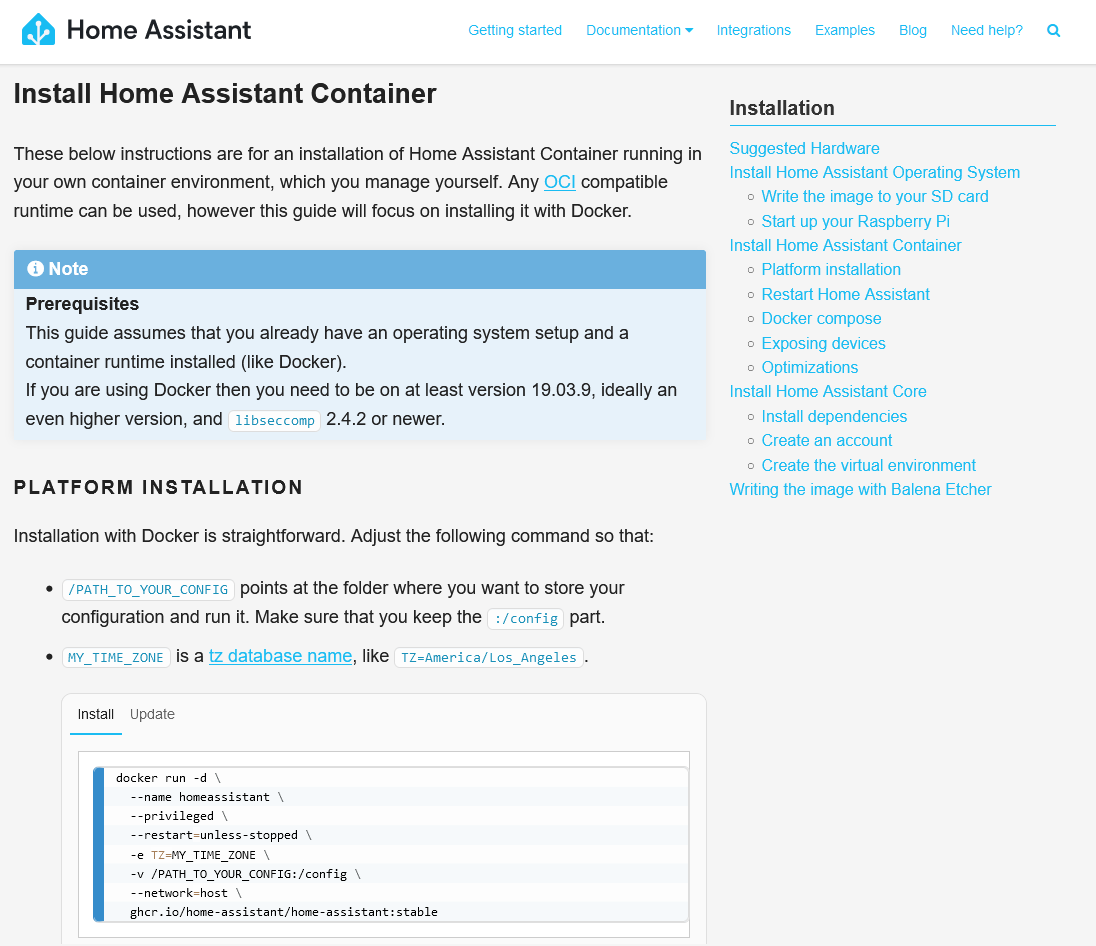
A screenshot of the Home Assistant installation instructions for Docker

So, as I mentioned a couple of weeks ago, I’ve set up Home Assistant (HA) to control the various smart devices that we have around the home. At the time, I just used a snap package, but now I’ve migrated to using Docker, and here’s why.

Firstly, there are some disadvantages of installing Home Assistant using a snap package. Namely:

  1. The snap package isn’t an official release by the Home Assistant project, and is instead built by a third party.
  2. This means that, at time of writing, it’s a couple of releases behind the latest official release.
  3. It also means that it’s not a formally supported way of running Home Assistant, and there are fewer resources out there to help you if you’re stuck.
  4. I had issues updating previously installed custom components from HACS

Meanwhile, there’s an official Home Assistant Docker image that is updated at the same time as new releases, and it’s mentioned in the installation guide.

So, on the whole, Docker is better for running HA than Snap. But I wanted to run HA on my Raspberry Pi 4 which has Ubuntu Core on it, and that only offers Snap. But wait… you can install Docker on Snap, and the Docker Snap package is one maintained by Canonical so it’s regularly updated.

You can see where this is going. What if I install Docker using Snap, and then install Home Assistant into Docker? Well, that’s what I did, and I’m pleased to inform you that it works.

Docker on Snap, step-by-step

If you want to try this yourself, here’s the steps that I followed. However, please be aware that you can’t migrate a Home Assistant setup from Snap to Docker. Whilst HA does offer a backup tool, the option to restore a backup is only available on Home Assistant Operating System, and it seems that manually copying the files across won’t work either. So, if you currently use Snap, you’ll have to set up HA again from scratch afterwards. You’ll also, at the very least, need to run snap stop home-assistant-snap before you start.

  1. Install Docker. You can do this by logging into your machine using SSH and typing in snap install docker.
  2. Enable networking. There’s probably a better way of doing this, but for me, just running chmod 777 /var/run/docker.sock worked.
  3. Install Home Assistant. You’ll need to enter quite a long shell command, which is:
    docker run -d \
    --name homeassistant \
    --privileged \
    --restart=unless-stopped \
    -e TZ=MY_TIME_ZONE \
    -v /PATH_TO_YOUR_CONFIG:/config \
    --network=host \
    ghcr.io/home-assistant/home-assistant:stable

    The two variables in bold will need changing. For ‘MY_TIME_ZONE‘ you’ll need to type in your time zone, which in my case is ‘Europe/London‘, and for ‘PATH_TO_YOUR_CONFIG‘ is a folder where you want your configuration files. I suggest /home/[username]/homeassistant .
  4. Grab a drink, as the installation will take a few minutes, and then open http://[your IP address]:8123 in a web browser. If it’s worked, then you’ll be presented with HA’s onboarding screen.

Again, if you had the HA snap package installed, then if everything’s working with Docker, you’ll need to uninstall any related HA packages (like HACS, toolbox and configurator) and then the home-assistant-snap itself. And then you’ll need to set up all of your devices again. The good news is that, if you decide to move your HA installation to a new machine, you can just migrate the Docker image in future.

Wouldn’t it be better just running Docker?

Okay, so you may be wondering why I’ve set up HA this way. After all, it would probably be easier just to install Raspberry Pi OS Lite and put Docker on that, without using Snap. Well, there’s a method to my madness:

  • I like running Ubuntu Core because it’s so minimalist. It comes with the bare minimum of software installed, which means that there’s less risk of your system being compromised if a software vulnerability is found and exploited.
  • I already have Plex running quite happily in Snap, and didn’t want to have to migrate that as well.

In other words, this was the easiest way of running HA in Docker with my current setup. And I’m happy with it – I’m running the latest version of HA and it seems to work better.

There are a couple of additional steps that I still need to complete, which are:

  • Enabling SSL/TLS for remote access
  • Enabling mDNS broadcasts for Apple HomeKit integration

I’m working on these. Home Assistant Cloud is the easiest way of setting up secure access and I’m considering it. It’s a paid-for service, but it does financially support HA’s development, and seems to much easier than the alternatives. As for mDNS, I’m still working on this, and I imagine there’ll be things I need to tweak in both Docker and Snap to get it to work.