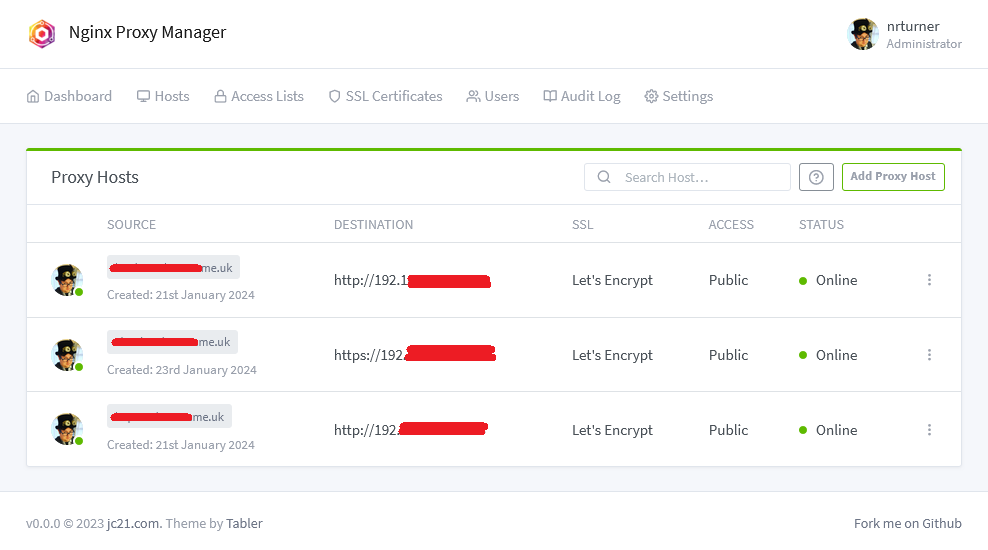
Creating a Bluetooth proxy with ESPHome

A photo of an m5stack Atom Lite which has been flashed with ESPHome firmware to act as a Bluetooth Proxy for Home Assistant

My latest Home Assistant project has been creating a Bluetooth Proxy – a device that essentially extends the range of my Raspberry Pi’s Bluetooth signal. To do this, I’ve purchased a small device with a ESP32 chip on, and flashed it with firmware from ESPHome.

Okay, so that introduction has a lot of jargon. Allow me to break it down a little.

What is a Bluetooth proxy?

Because Bluetooth connections are point-to-point, you can’t use range extenders like you can with Wifi, Zigbee and Thread networks. That means that any Bluetooth devices that you want to connect to Home Assistant need to be in range of the device that you’re running Home Assistant on. I recently moved my Raspberry Pi to a different location, which meant that it was out of range of one of my Bluetooth thermometers.

A Bluetooth proxy acts as a kind-of bridge between Bluetooth and Wi-Fi. You place the proxy device within range of the Bluetooth devices that you want to connect to Home Assistant, and connect it to your home Wi-Fi network. Once set up, Home Assistant should see your Bluetooth devices as if they were in range.

If you’re running Home Assistant Container, then a Bluetooth proxy may also be easier to set up than a USB Bluetooth dongle. Passing USB devices into a Docker image doesn’t always work well.

It’s worth noting here that Bluetooth proxies are just a Home Assistant ‘thing’. They won’t help you connect a Bluetooth speaker to, say, a smartphone that’s out of range. Also, you can’t buy a device that works as a Bluetooth proxy out of the box. Seriously, if you go onto Amazon and search for ‘Bluetooth proxy’ (sponsored link), all you will get is results for Bluetooth adaptors and development boards with ESP32 chips.

The M5Stack Atom Lite

Whilst there are lots of boards that you can buy, a good option is the M5Stack Atom Lite (also available from AliExpress, where I got mine). This is because it comes with a plastic case, and connects easily using a USB-C cable. You could buy a different board and make your own case for it, but I don’t have a lot of time right now and don’t own a 3D printer. Besides, it costs less than £10 delivered.

The device is tiny – about the size of a 50p piece, and less than a centimetre thick. Because it’s a development board, it also comes with several pins to connect to other devices, but these aren’t necessary if you’re just using it as a Bluetooth proxy. Inside, is the Espressif ESP32 chip.

There are other ESP32-based products in the M5Stack Atom range, that add (for example) a microphone or GPS chip, but again, we don’t need these for a simple Bluetooth proxy.

Installing ESPHome

ESPHome is a sister project to Home Assistant, as they’re both managed by the Open Home Foundation. It’s similar to Tasmota, which I’ve blogged about before, in that they’re both custom firmware packages that you can flash onto ESP devices. Whilst Tasmota and ESPHome can do many of the same things, if you want a Bluetooth proxy then you’ll need to use ESPHome as Tasmota doesn’t support it.

Probably the easiest way to install ESPHome is using one of the ready-made projects. These can be flashed directly from your web browser, as long as you’re using Chrome or Edge (Firefox doesn’t yet support WebSerial so won’t work). You’ll need to connect your Atom Lite to your computer using a USB-C cable that supports both data and charging. You may also need to install the USB drivers – on my Windows 10 machine, the ‘CH9102_VCP_SER_Windows’ download worked. You should then be able to install the firmware, which will take a couple of minutes. Once done, you’ll be prompted for your home Wi-Fi network name and password, and then you should be good to go. Home Assistant will hopefully detect your new Bluetooth proxy automatically.

Managing your Bluetooth proxy in ESPHome

I used ‘hopefully’ in the previous sentence, because this didn’t happen in my case. As I used Home Assistant Supervised, I was able to install the official ESPHome addon; if you use Docker, you can just run docker pull ghcr.io/esphome/esphome to install it. Once installed, the ESPHome addon/docker image should detect your Bluetooth proxy and allow you to ‘adopt’ it.

This will let you view the hostname of your Bluetooth proxy device, which will be something like ‘atom-bluetooth-proxy-wibble.local‘. You can then add the ESPHome integration to Home Assistant, specifying the hostname, and you’ll be good to go. As soon as the integration was working, Home Assistant was able to see a new Bluetooth device and allowed me to configure the integration.

Going forward, you should find that Home Assistant is able to automatically update your ESPHome devices whenever new firmware is available – this is a new feature from the 2024.07 release. But you can also use the ESPHome addon/docker image to add or change features on your device. You could, for example, allow your device to act as an iBeacon as well (I think).

One thing to bear in mind is that Bluetooth and Wi-Fi both use the same 2.4 GHz frequency band. So, if you’re comfortable building your own board with a wired Ethernet connection instead of Wi-Fi, then you may get better performance.

Nginx Proxy Manager

A screenshot of nginx proxy manager

I’ve recently started using Nginx Proxy Manager to act as a reverse proxy for the various web services that I have running on my Raspberry Pi. It’s a frontend to the nginx web server and makes setting up reverse proxies and SSL access really easy.

You may remember that I’ve used SWAG for this before, to enable HTTPS access to my Home Assistant installation. SWAG is find if you’re using Home Assistant Core or Container, but having switched to Home Assistant Supervised recently, I needed a new solution. Like SWAG, Nginx Proxy Manager can be run in Docker, but it’s also available as a Home Assistant addon.

The main benefit of Nginx Proxy Manager over SWAG is that it has a web-based UI, shown in the screenshot above. This makes setting up new proxy hosts really easy, as it has a nice and simple interface. Whilst SWAG includes pre-built configuration files for many services, there’s no interface available other than editing text files.

Nginx Proxy Manager will also manage SSL certificates. You can either import ones that you purchase yourself, or it will manage the process of acquiring and renewing Let’s Encrypt certificates.

As well as managing Home Assistant, I have Nginx Proxy Manager looking after Calibre-web and Nextcloud.

A brief explanation of reverse proxies

Apparently, you’re supposed to ensure that blog posts are at least 300 words nowadays, otherwise Google ignores it. So, here’s an explanation of why you should set up a reverse proxy server if you’re hosting services like Home Assistant at home:

  1. No port numbers. When you set up something like Home Assistant, you’ll end up with an address like http://192.168.0.1:8123. A reverse proxy will allow web browsers to connect on the standard web ports (80 for HTTP, 443 for HTTPS), which looks nicer and is more predictable. It also means you don’t have to forward lots of arbitrary ports on your router.
  2. SSL certificates. If you’re running a device on your home network, then ideally you only want to allow secure connections to reduce the risk of your personal data being intercepted. Self-signed SSL certificates are not ideal, as most web browsers issue dire warnings for web sites that use them. As not all web applications support SSL certificates natively, a reverse proxy can handle this for you.
  3. Web application firewall. By making all requests go via a proxy, the proxy server can filter out malicious traffic. Nginx Proxy Manager includes a ‘block common exploits’ mode, and you can also filter IP addresses. For example, you may wish to only allow access to certain IP addresses.

Installing in Home Assistant

If you’re running Home Assistant Supervised or Operating System, then you’ll need to install the Nginx Proxy Manager addon. It’s available from the Community Addons repository, which should already be available to you – you won’t need to add it separately. It’s not to be confused with the official ‘NGINX Home Assistant SSL proxy’ addon; this doesn’t include an interface and only enables a proxy for Home Assistant, and not for any other services. Indeed, if you’re already using this official addon, you’ll need to stop it from running first, as otherwise you’ll have a port conflict.

Once set up, you can access the web interface at http://[your IP]:81 . I suppose I could probably set up a reverse proxy host to get rid of the port number, but I don’t see a good reason to enable remote access to it.

One final thing to add is that the user guide for Nginx Proxy Manager isn’t great. It covers setup, but there’s very little help for configuring proxy hosts. The web interface is pretty straightforward so arguably detailed instructions aren’t necessary, but a little more help would be good.