Portisch firmware on a Sonoff RF Bridge

A AZDelivery D1 development board that I've used to flash Portisch firmware on a Sonoff RF Bridge

A couple of weeks ago, I wrote about flashing Tasmota firmware onto some old Tuya smart plugs, using a USB to UART converter and some Dupont jumper cables. I also flashed Tasmota onto a Sonoff RF Bridge, which I’d bought to listen to doorbell presses. This meant that the RF Bridge would work with Home Assistant without needing a HACS integration or addon, and wouldn’t need to rely on cloud services to run.

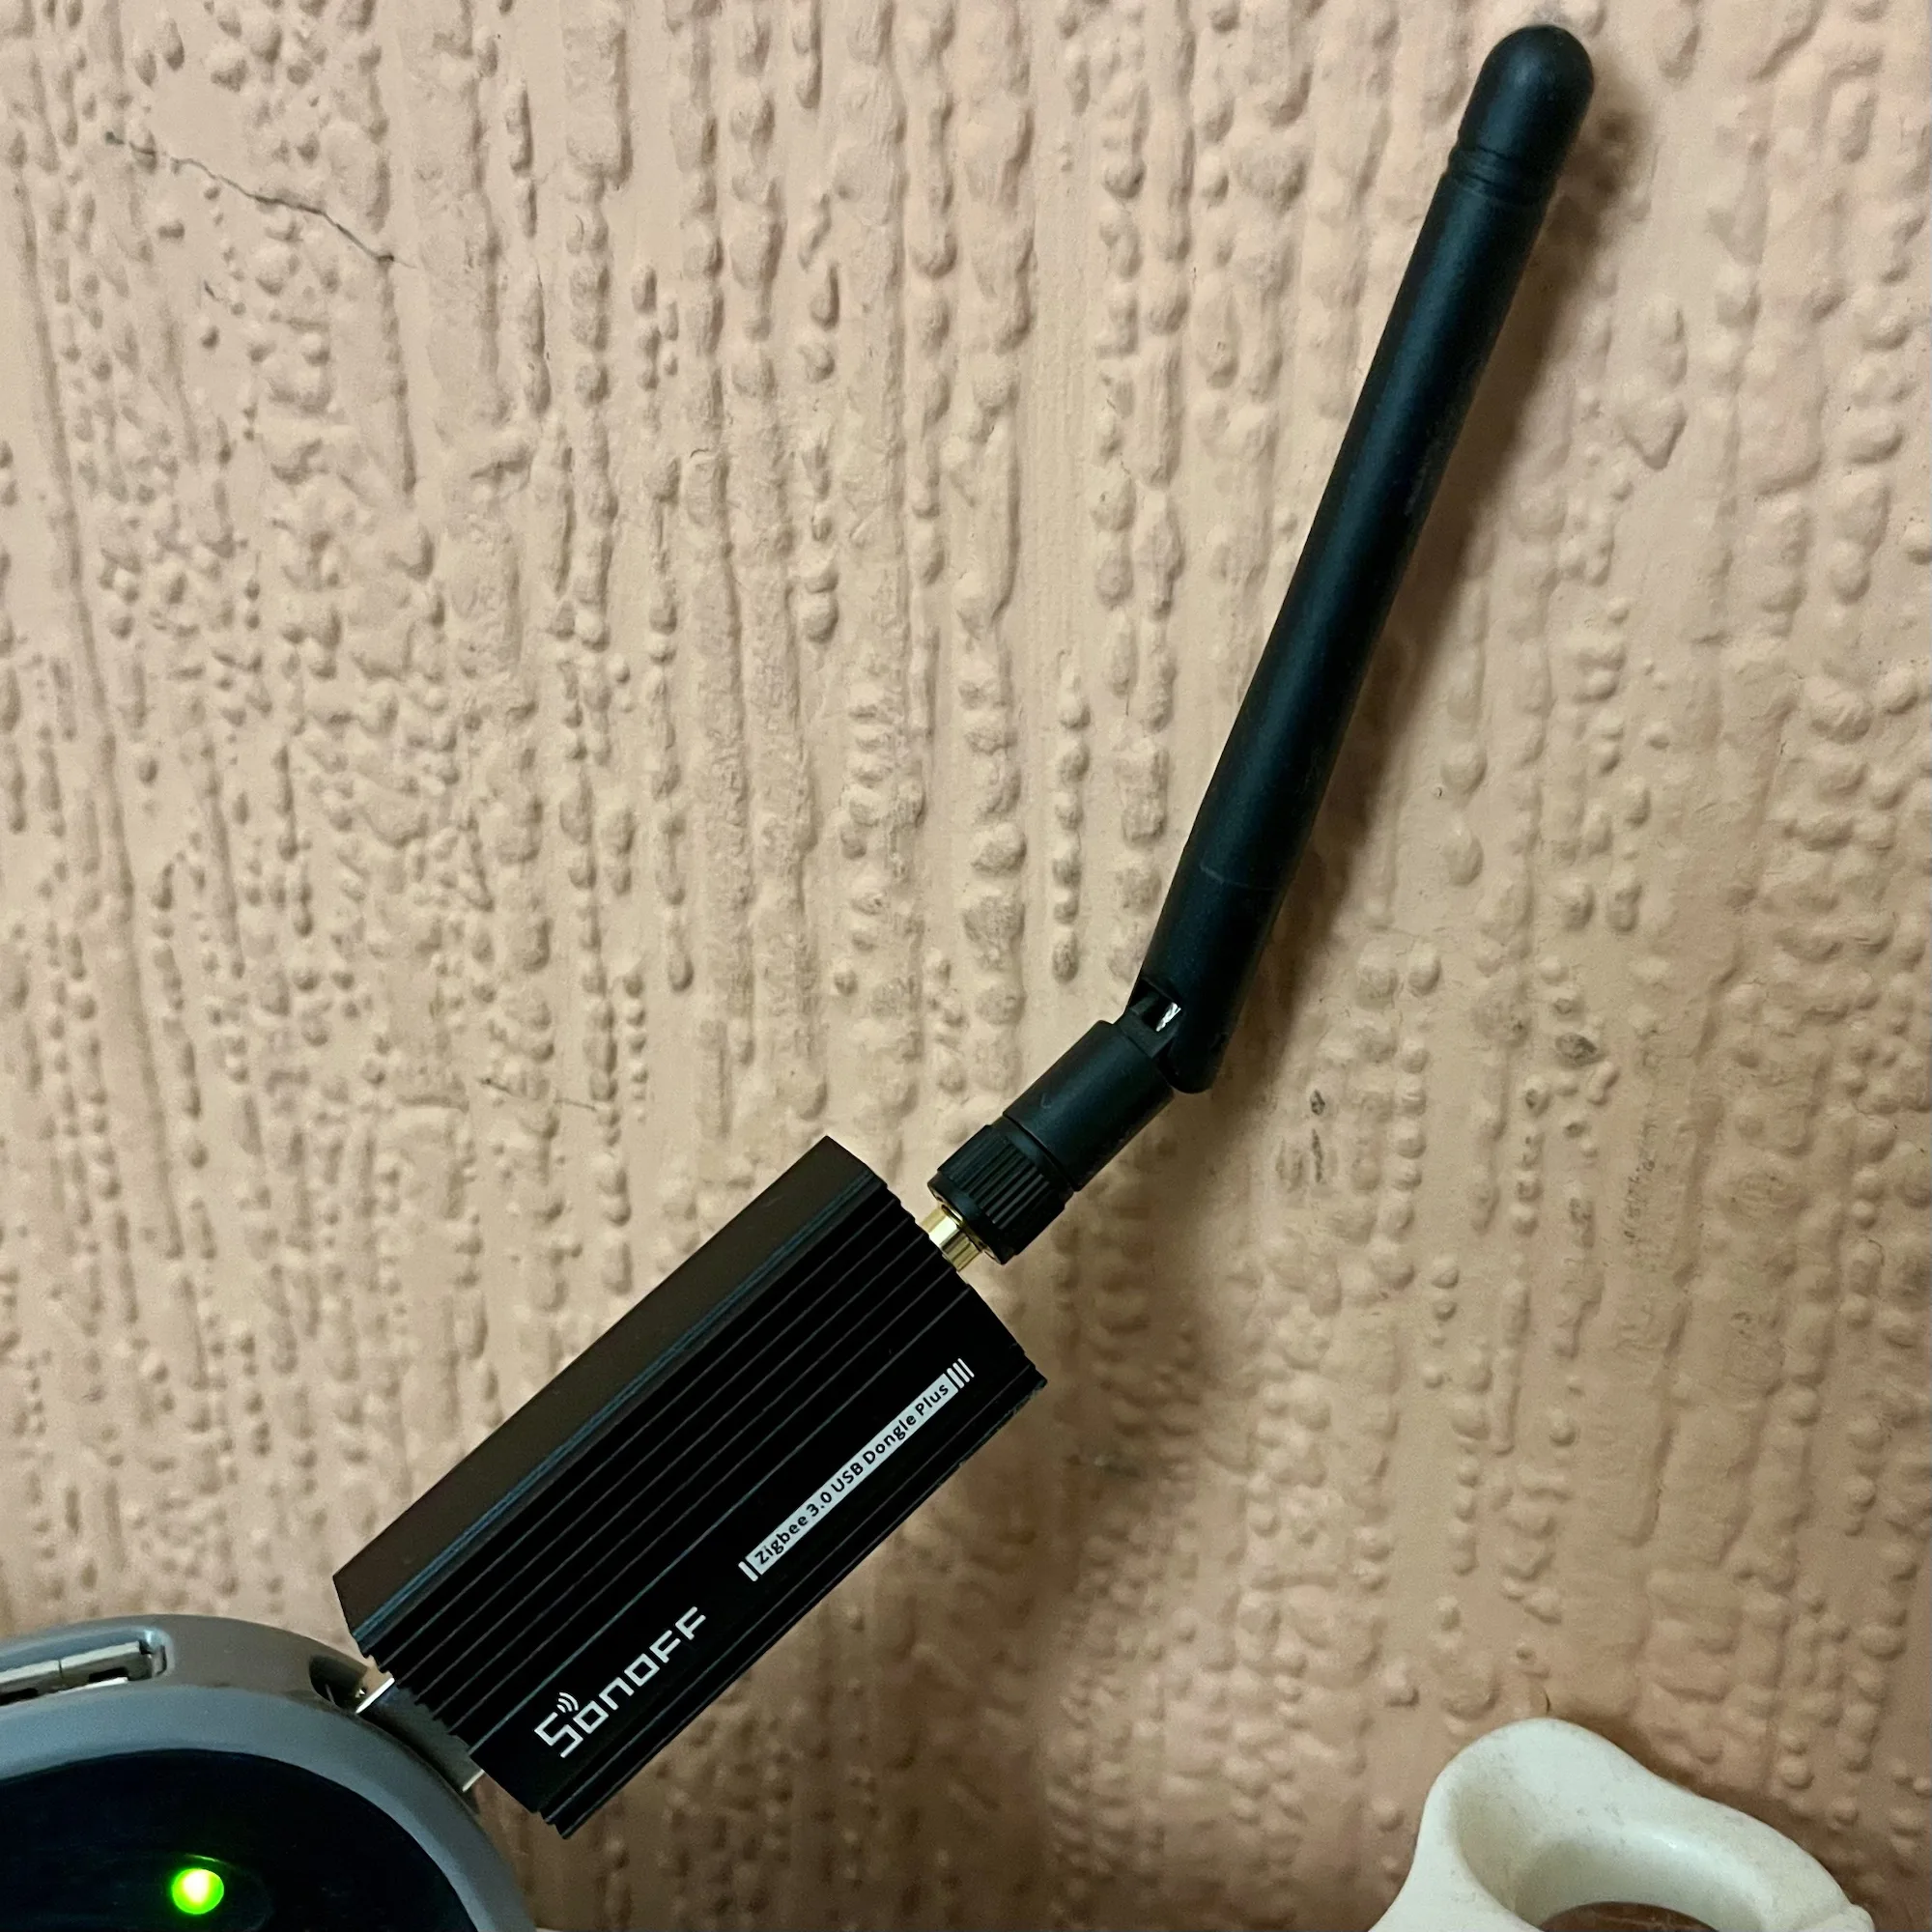
However, inside every Sonoff RF Bridge there are two wolves chips with firmware. There’s an ESP8266 chip, which handles the Wi-Fi side of things, and an OBS38S003 chip which handles RF communication. I have the latest R2 v2.2 model; older ones have a different RF chip.

The default iTead firmware on the RF chip has been locked down to only support a limited number of RF messages. That’s fine if your device is supported, but my doorbell isn’t. So even with Tasmota installed, pressing the button my doorbell didn’t do anything as the RF firmware was programmed to ignore it.

Portisch RF fimrware

The OBS38S003 RF chip can be flashed with ‘Portisch’ firmware, which allows all RF messages to be received and decoded. However, whereas the ESP9266 chip has UART pins that don’t require any soldering to access, the OBS38S003 doesn’t support a UART bus. There are therefore two ways to get around this:

  1. Modify the board using additional soldered cables and cutting some lines on the board
  2. Using another circuit board, flashing firmware onto that, and then using the flashing board to flash the chip.

I went with option 2 – I don’t have a soldering iron to hand, and didn’t want to make a mistake and damage the board beyond repair. Instead, I bought this AZDelivery D1 NodeMCU Wi-Fi Development Board (sponsored link). There are a number of ‘D1’ boards out there – Wemos make the most well-known – but this was £7 and available from Amazon. Ironically this board also contains an ESP8266 chip.

Flashing the development board

To flash the D1 board, I needed to install two things:

  1. The Arduino IDE
  2. Python

I installed both, and then followed the instructions that came with the AZDelivery D1 board to set it up as a board in the Ardunio IDE. Next, I loaded the OnbrightFlasher into the Ardunio IDE and flashed it onto the D1 board. Make sure that use a micro-USB cable that supports both data and charging – a charging-only cable will power the device, but you won’t be able to connect to the D1.

Next, it was time to connect the D1 board to the Sonoff RF board. From here, it’s best to follow this tutorial from the ‘Erasing the MCU (RF chip) on the PCB‘ heading, with the following notes:

  • I only got a garbage response from the ‘handshake’ command until I amended the baud rate to 115200 in the Arduino IDE.
  • When it comes to running the flashScript.py script, open a command prompt first, and then run the script.
  • For the OBS38S003 firmware, there are 4 different firmware versions that you can flash. I had the most luck with the one called ‘portisch_main_OB38S003_BUCKET_SNIFFING_INCLUDED.hex‘.
  • If you haven’t already flashed Tasmota, make sure that you flash the ‘tasmota-sensors’ version rather than plain vanilla Tasmota.
  • If you have ESPHome on your Sonoff RF Bridge (see here for the YAML configuration), rather than Tasmota, you may have more luck with rcswitch_main_OB38S003.hex (I haven’t tried this myself)

Once the firmware is flashed, you can disconnect everything, put your Sonoff RF Bridge back together.

Testing the Portisch firmware

In Tasmota, open the Console and type in ‘rfraw 1‘ and press enter to enable Portisch. Then type ‘rfraw 192‘, and the device should beep. You can then type ‘rfraw 177′ and the Sonoff RF Bridge will go into ‘bucket sniffing’ mode – this will display the various codes being broadcast on the 433 MHz band. There’s more guidance on the Tasmota device page and RF commands section.

So, is my doorbell smart now?

The bad news is that, despite all this work, I haven’t been able to use the RF Bridge to capture my doorbell’s signals to turn them into actions in Home Assistant. The codes being sent by my doorbell seem to rotate, presumably so that only the receivers in my house respond and not someone else’s. And, the 433 MHz channel is also very noisy – there are lots of codes being sent by other devices like a frustrating game of Numberwang.

Basically, if I want to have a smart doorbell, I’m going to need to just buy an actual smart doorbell, aren’t I? At least I have an ESP development board to play with now.

Sonoff Wi-Fi RF Bridge review

A photo of a Sonoff Wifi RF bridge

I’ve been thinking about my doorbell, and knowing when someone rings it. Obviously it chimes when I’m at home, but I was hoping that with this Sonoff Wi-Fi RF Bridge, I can get notifications on my phone and a log of when people call when I’m out.

We don’t have a smart doorbell, like Ring for example. Ours is a Koopower Wireless Doorbell that I was sent to review six years ago. The Koopower doorbell doesn’t need a battery – the act of pressing the button generates sufficient power to send a RF signal to the receivers.

What I was hoping with this Sonoff RF bridge is that it could also listen out for doorbell pushes, and send me a notification. I could also integrate it into Home Assistant, which could handle logging. As you can probably tell from how I have written this blog post so far, I haven’t been able to achieve this.

Setting up

The Sonoff RF bridge is pretty small – about 2 inches (5 cm) square. In the box is the bridge, a quick start guide and, erm, well, that’s it. You need to provide your own micro-USB cable and a power source capable of 5 volts and 1 amp – so most phone chargers, or even many batteries. The bridge just has two LEDs – a blue one indicating the Wi-Fi status, and a red one the RF status. The only other thing of note on the bridge is a hole for poking a paper-clip in to reset it – there’s no other buttons.

Once you have hooked it up to a suitable power source, you can use the eWeLink app to set it up. This allows you to connect the bridge to your home Wi-Fi network, and pair RF devices.

Pairing devices

In the eWeLink app, you put the RF bridge into pairing mode, and then have 60 seconds to perform an action on your RF device. When it detects a signal, it’ll save the codes transmitted using RF, and will give you a button in the app. By pressing that button in the app, the RF bridge will mimic the action on your remote. So, you can ‘teach’ your bridge to turn an air conditioning unit on and off, rather than using its remote.

The fun comes when you link your RF bridge to a smart home ecosystem, like Google Assistant, Amazon Alexa or Home Assistant. Your bridge will appear as a device, and so you can use your voice to control appliances that are not ‘smart’ and are not on your home network.

That’s the theory anyway

As I write this, I haven’t been able to get my RF bridge to detect my doorbell, even though they both use the same 433.9 MHz frequency band. Even with the doorbell receivers switched off, and me holding the RF bridge next to the doorbell (did I mention you could run it from a battery?), it doesn’t detect a signal.

Now, to be fair, there’s no mention of compatibility with wireless doorbells in Sonoff’s marketing. Indeed, pairing RF devices can be hit-and-miss; you won’t, for example, be able to use an RF bridge to unlock your car, as the codes are changed each time you lock and unlock your car. Trust me, this is a good thing; otherwise, devices like these could be used to break into people’s cars.

If you have RF remotes, then this should work; it should also work with RF window opening detectors, alarms and curtain controls. Note, however, most remote controls use infrared, rather than RF – if your remote requires you to point it directly at the device, then it’s probably infrared, not RF.

RF bridge Home Assistant integration

I mentioned that you can get the Sonoff RF Bridge to appear in Home Assistant. There isn’t an official integration, but there are several ways you can achieve this:

  1. Flash it with custom firmware from ESPHome or Tasmota
  2. A custom integration available in HACS
  3. An addon which uses Home Assistant’s API

My initial searches only led me to option 1, and I didn’t fancy taking apart my brand new device to install custom firmware on it. Thankfully, there’s a Sonoff integration in HACS which allows you to log into your eWeLink account, and seems to work well. The addon is something I only found whilst writing this blog post, and it looks like this is actually the official way of integrating eWeLink with Home Assistant as it’s in the same GitHub account. You can use a Docker image instead if you’re running Home Assistant Container.

The alternatives

It’s possible that I have a dud unit, and so I have ordered a different model from AliExpress which uses Tuya. At the time of writing, this cost less than £1, which is clearly some kind of introductory offer as it’s normally £17. This Tuya model also supports infrared, and the 315 MHz RF band. I’ll let you know how I get on with it, when it arrives in a few days.

There’s also the option of building your own. The main components inside the bridge are a standard ESP8285 chip for Wifi and Bluetooth, and a EFM8BB1 chip for RF. You can therefore buy these yourself, solder them onto a board, and use the ESPHome or Tasmota firmware to achieve the same thing. I’m not yet that far down the home automation rabbit hole to build my own devices, but you could consider it.

Sonoff Zigbee and Thread/Matter dongle

A photo of the Sonoff ZBDongle E which offers Zigbee and Thread support

If you’re a Home Assistant user, and want to connect your Zigbee and Matter devices, then one option to consider is this Sonoff ZBDongle E. I bought one a couple of weeks ago, and it seems to work fine with my Home Assistant setup.

One thing you will notice if you view its Amazon product page (sponsored link) is that there’s no mention anywhere of Thread or Matter. Out of the box, this Sonoff dongle will only work with Zigbee devices. However, if you follow this handy guide from Smart Home Scene, you can flash the dongle with custom firmware, which adds support for Thread as well. As I mentioned in my recent is there a Zigbee network in your house blog post, both Zigbee and Thread are protocols in the 802.15 family.

The firmware flasher is actually browser-based, and so there’s no need to download additional software. However, it’ll only work in Edge or Chrome, as seemingly Firefox doesn’t have away of allowing web pages to access serial ports.

Note that the guide linked above is for Home Assistant Supervised and OS. If you’re running Home Assistant as a Docker Container, then you’ll need to install this Docker Image as well. I haven’t tried it myself, as I run Home Assistant Supervised, but this seems to be the way to get it to work.

Once it’s all set up, you’ll be able to add both Zigbee and Matter devices to your Home Assistant installation.

The Sonoff dongle cost £22 when I bought it earlier this month, although at the time of writing the price has been hoicked up to £30. That makes it only £1 cheaper than the Home Assistant Skyconnect, which is the official dongle. Therefore, my recommendation of the Sonoff dongle being a cheaper option no longer applies and it’s up to you which one to buy.