Between now and the day before Christmas Eve, I’ll be posting about the best books that I’ve read (or the best audiobooks that I have listened to) this year, just in case you need any last minute present ideas. On Monday, I wrote about my favourite non-fiction books, and today, I’m focussing on the fiction books aimed at grown-ups that I’ve read or listened to this year. All of these are books that I have awarded five stars on Goodreads.
The links below to buy the books are all sponsored links to Amazon, but you’re welcome to borrow these from your local library, or buy them from an independent book shop.
‘How to Become the Dark Lord and Die Trying’ by Django Wexler
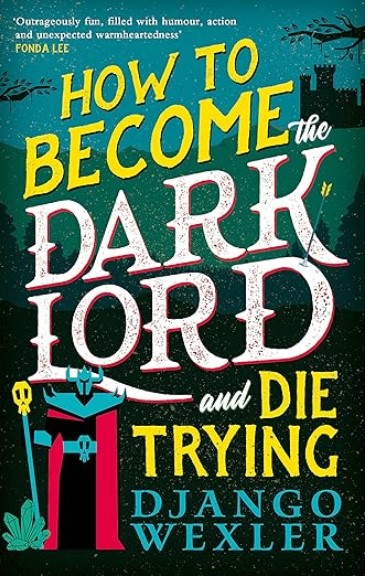
This book was recommended to me by a couple of people. It’s told in the first person by Davi, who is stuck in a time loop. Every time she tries to defeat the Dark Lord, she ends up dead and back at the beginning of the loop. So, as per the title, this is How to Become the Dark Lord and Die Trying. It’s very funny, with plenty of violence, sex and swearing to boot. Christine and I listened to this together in the car, and the audiobook is very well narrated by Jeanette Illidge.
This book ends on a bit of a cliffhanger, and so there’s a second book, Everybody Wants to Rule the World Except Me, which also comes recommended. I think Christine enjoyed both books more than I did, but they’re still amongst my books of the year.
‘Human Rites’ by Juno Dawson
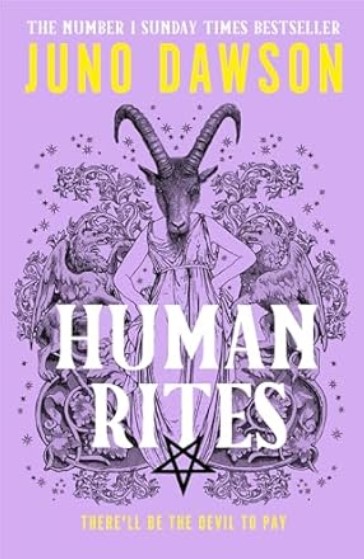
Last year, the other two books in the Her Majesty’s Royal Coven trilogy were in my best of list, so it’s no surprise that this third and final book, Human Rites, is here too. These books almost feel like they were written specially for me, as many of the settings are places around Hebden Bridge that I know well. Plus the various pop culture references.
Dawson manages to bring the overall story arc to a really satisfying conclusion, without making it feel like it was a foregone conclusion. The audiobook is, once again, excellently narrated by Nicola Coughlan, who is able to give each character a unique and distinctive voice.
‘Rule of Cool’ by Matthew Siege

This was my first foray into the world of LitRPG – fiction books that incorporate role-playing game mechanics. So, in this book, Rule of Cool, the characters level up, and as events happen, you can read how their stats change. Attacks are on the basis of dice roles. It’s a whole genre of books.
The story is an idea I’ve come across before, in Drew Hayes’ book NPCs. Characters in a game find a way to break out of their pre-defined non-player character roles, and get to be the heroes for once. Whilst Hayes’ book was a little disappointing, I found the story in Rule of Cool much more engaging.
I picked this up on the basis of its narrator, Felicia Day, whose career I have followed since she released the first series of The Guild. Which is approaching its 20th anniversary, somehow.
‘The Fireborne Blade’ by Charlotte Bond

I met Charlotte Bond at this year’s Sci-Fi Weekender, as one of the invited authors. She’s from Leeds, and when I read the dedications for this book, The Fireborne Blade, one of those was to a mutual friend. As well as a signed copy of this book, she also gave me some Yorkshire Tea.
It’s a dragon-slaying fantasy book with a few unexpected twists. There’s some humour in here, and overall, it’s quite a short book. Which, if you’re like me and wanting to hit an ambitious reading challenge target for the year, is welcome.
There’s a follow up – The Bloodless Princes – but I haven’t started this yet.
‘When The Moon Hits Your Eye’ by John Scalzi

Last year’s best of list featured two honourable mentions by John Scalzi. As with Human Rites, mentioned earlier, this is one of two books that I read which were actually published this year.
In When The Moon Hits Your Eye, the moon suddenly turns to cheese. The book is essentially a series of short stories, where different characters all react to the same events, including teams of scientists, eccentric billionaires, and cheese shop owners.
Whilst my favourite John Scalzi book remains Starter Villain, this is good, and what you would expect if you’ve read Scalzi’s other books. The audiobook is once again well-narrated by Wil Wheaton.
On Tuesday, I’ll focus on the best kid’s books that I read this year with our nine-year-old.